
Struggling with Netgear N300 WN3000RP WiFi extender setup? Not anymore! This post will provide you a step-by-step guide to set up and install Netgear WN3000RP extender on your own. Let’s get started.
Netgear WN3000RP extender provides you with 300 Mbps speed. Once you successfully set up your Netgear N300 WN3000RP extender, you will be able to use the internet at places you have never imagined, e.g. terrace, storeroom, backyard, and garage.
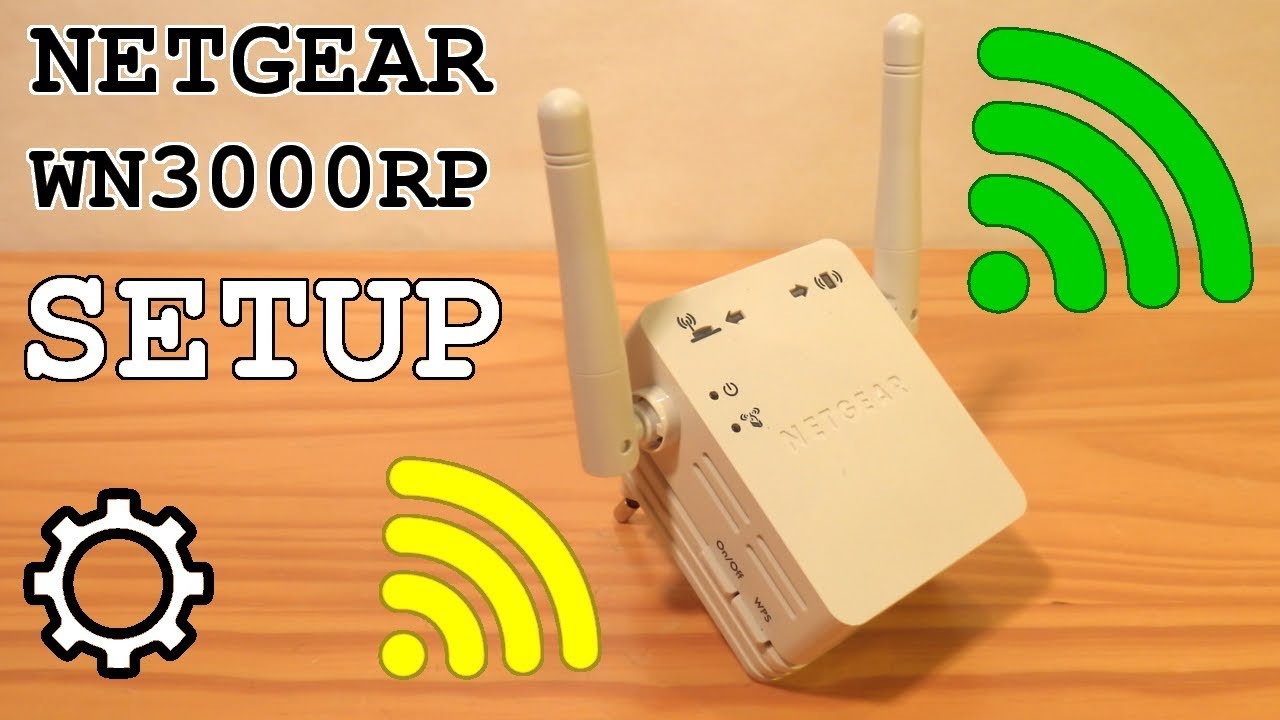
Netgear WN3000RP Setup | N300
There are two methods of Netgear N300 setup for WN3000RP extender, namely Manual Method and WPS Method. Allow us to walk you through these methods one by one.
-
Manual Method
Follow the steps mentioned below to manually set up your Netgear WN3000RP N300 wireless range extender:
-
Power on your Netgear WiFi extender and turn it on.
-
Take an Ethernet cable and make a wired connection between your router and extender.
-
Turn on a computer or laptop.
-
Open a web browser as per your liking.
-
Type mywifiext in the address bar.
-
Hit the Enter key.
-
Input the username and password into the given fields.
-
Click on the login button.
-
The WN3000RP N300 extender’s dashboard will appear.
-
Choose the WiFi network you wish to extend.
-
Enter the password of your current network.
-
Select the name for your extender’s network.
-
Now, you can start connecting your wireless devices to the new extender’s network.
That’s how you can manually set up your Netgear WN3000RP N300 WiFi range extender. On the off chance if you want to run the WN3000RP setup guide again, use your web browser to access mywifiext.net web page. When prompted, log in to your extender as admin.
-
WPS Method
WPS or WiFi Protected Setup is the easiest method to set up Netgear WiFi range extender. This method doesn’t require you to enter the password for connecting to the network. Here are the steps to consider for Netgear extender setup using WPS:
-
Connect the power adapter to your Netgear N300 WN3000RP WiFi extender and a wall outlet.
-
Once done, turn on your extender.
-
Make sure that it is getting a fluctuation-free power supply from the wall outlet.
-
Now, press the WPS button on your extender.
-
After that, press the WPS button on your home WiFi router.
-
The WPS LED light on your extender will light up, showing your extender is connected to your existing router.
Kudos! You have successfully set up your Netgear WN3000RP N300 WiFi router using the WPS button. After the setup, you can connect all your wireless devices to the new, extended WiFi network.
Check the Link Rate LED on your Netgear WN3000RP extender to check the performance. If it is green, it means the extender is delivering the best performance. Amber Link Rate LED signifies a workable performance while a Red LED shows poor or no connection. On the off chance, if this LED is turned off, it indicates that there is no connection between your router and N300 WN3000RP range extender.
