

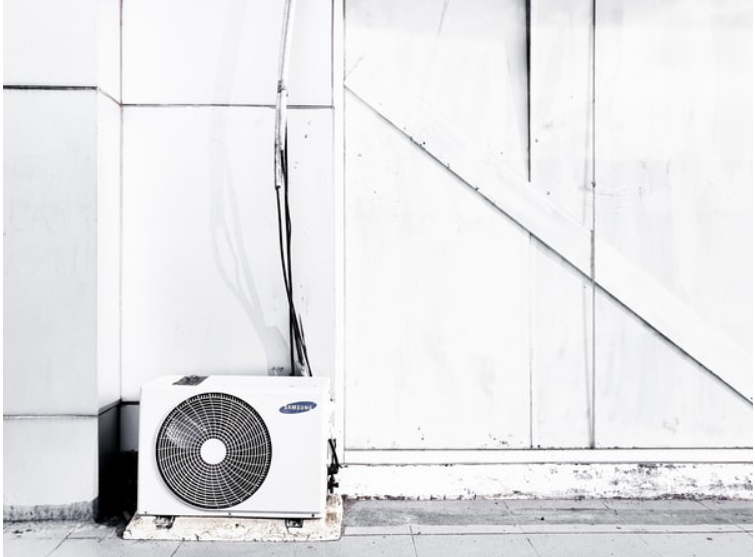
Installing things can be stressful, especially your AC. You may need to check if you need a new air conditioner compressor because not knowing why your ac unit is failing can be a source of stress, especially in the summer months when air conditioning is more important than ever if you live in a place where hot air is the norm. However, it can be made much easier, and cool air will be on its way. In this blog post, we will provide you with some tips for installing an air conditioner compressor after you decide if it needs replacing.
Check the compressor’s compatibility with the refrigerant.
The first step is to check the compressor’s compatibility. To have a successful install, the compressor must be compatible with the type of refrigerant that is in the system. If the refrigerant is not compatible, it can cause the compressor to fail. Checking the compatibility will save you the trouble of causing damage unintentionally to your HVAC system. If you’re still unsure or you don’t know how the compatibility works, you can always call an HVAC technician. Homeowners never have to feel like they need to go it alone. A technician will be happy to assist you.
Remove the old compressor and its brackets and piping.
Now that you’ve checked the compatibility, it’s time to remove the old compressor’s brackets and piping. On the front of the compressor, you will see two brackets that hold the piping in place. Remove the screws that hold the brackets in place and set the brackets and screws aside. Next, remove the old piping. There is a nut at the end of the piping that connects it to the compressor. Remove the nut and set the piping aside.
The next step is to remove the old compressor. The compressor is held in place by bolts as well. The bolts can be removed with a socket wrench. Once the bolts are removed, the compressor can be pulled out. The new compressor can then be installed.
Connect the refrigerant lines to the compressor.
After installing the new compressor, it’s time to evacuate the old refrigerant and fill it with new fluid. The first step is to connect the refrigerant lines to the compressor. The red line should be connected to the high-pressure side and the blue line should be connected to the low-pressure side. Once the lines are connected, the compressor can be installed into the unit.
The compressor should be positioned so that the belt is facing the correct way and the bolts can be tightened. Once the compressor is in place, the electrical wiring can be connected. The black wire should be connected to the ground, the white wire should be connected to the neutral, and the red wire should be connected to the power. The wiring can then be secured in place and the unit can be tested.
Install the drip pan and extra lines if necessary.
Now that you’ve installed it, it can’t hurt to have something help the air conditioner compressor along and keep it going stronger for longer. You can install a drip pan and more lines if it turns out your air conditioner compressor needs more help. There are usually two clips on the side of the compressor that holds the drip pan in place. The drip pan should have a hole in the middle so the oil can drain. If the lines need to be replaced, the old lines should be cut off flush with the compressor. The new lines should be installed using the clamps provided. The lines should be tightened until they are snug.
If you’re ever worried when your air compressor and in turn your air conditioner is failing to produce cold air, replacing the air conditioner compressor can be your best bet. Even with this guide, it’s always best to get a second opinion from someone qualified for the job. Contact an HVAC technician for additional help so that your air conditioning repair goes smooth.
