
Thanks to the large number of useful mobile app prototype makers out there, the process of developing app prototypes has become much easier. They’re the best friends of UX designers, providing them with a long list of benefits for clients, users, and product development teams.
With making prototypes, it is easy to make mistakes, however, this guide is designed to help you get it right. Let’s get started with our step-by-step guide to designing a prototype!
Step 1: A Low-fidelity Prototype for the Initial Stages
Speak to the client, conduct some user research, and draft the requirements for your product. These steps will make the process of developing a low-fidelity prototype much easier.
Once this is complete you can start the development of your screen layouts, and decide on suitable UI sizing, and positioning. This is the stage where the basic navigation flow is set, and the core UI design is established.
This stage doesn’t require you to dive deeper into detail. It’s actually just a basic outline for your product.
Step 2: Interaction design
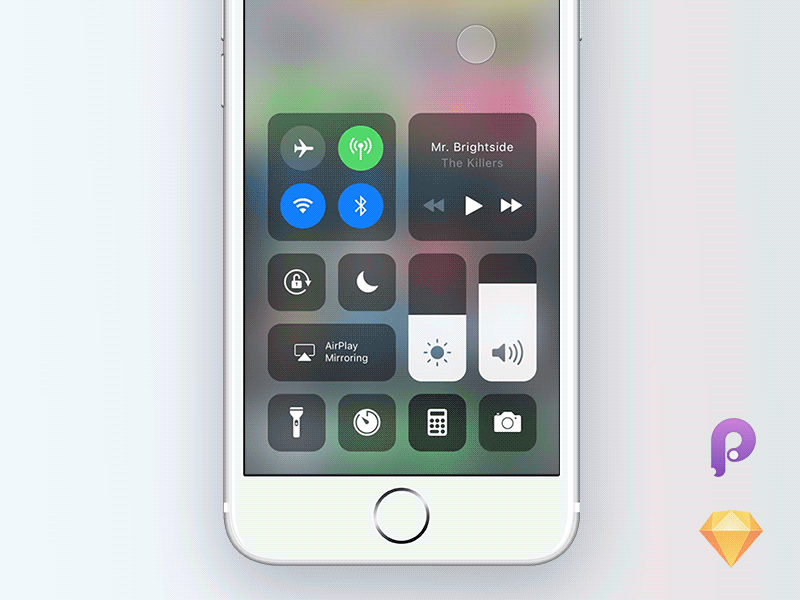
Moving up the ladder of developing a prototype, a more profound functionality should be established. Another major difference between a hi-fi prototype and a low-fi one is the store of data in the form of numbers, or text. A hi-fi prototype stores data in both forms in addition to specific settings entered by the user.
At the development stage of a hi-fi prototype, another important aspect to consider is micro interactions. It comprises of a trigger from the user’s end which leads to some sort of feedback. These interactions enhance the user experience, making your product more usable.
Transitions are also an addition that are made during this stage. Transitions such as fading in, or fading out can jazz up your UI design.
Step 3: Advanced Development of UI Design
The next stage in the iPhone app prototype development process is the implementation of your selected colour palette. This is done on the basis of guidelines given by your brand. Plus, at this stage you also add advanced styles for elements.
An app prototype is a visual representation of the final product which is why the right typeface, and font need to be chosen at this stage. This will enhance usability since the simpler fonts will enable your viewers to read and understand the prototype better.
At this stage, you also want to develop a pixel-perfect demonstration of your end product. You will also be introducing placeholders for images, at this stage.
Step 4: The forms of Prototyping
Forms play an important role in improving a product’s usability. For this reason, they must be easy to understand, without any glitches, or over complicated vocabulary. Prototypes will help you validate and test your forms for a flawless user experience.
The Last Step: Visualizing the Data
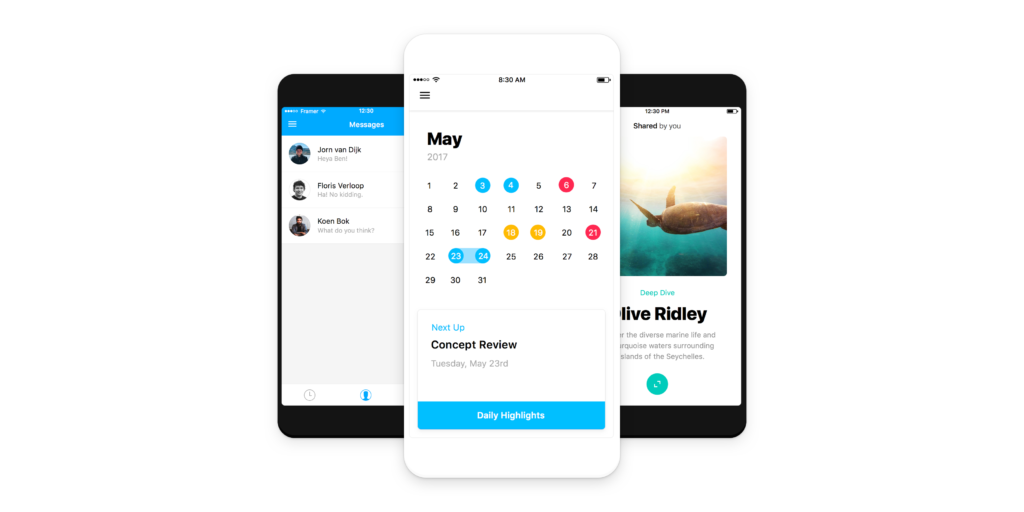
A hi-fi prototype will contain data visualization that matches with the real functionality of the final product. You should be able to view data in the following forms, at this stage:
- Lists
- Grids
- Cards
An iOS prototype is useful in the sense that it allows you to test whether the interactions are sensible or not.
