
One of the primary advantages of free-floating an AR-15 is improved accuracy owing to less fluctuation in barrel harmonics caused by sling tension. Because the sling mount connection on the conventional AR-15 is located at the base of the front sight gas block, minor adjustments in sling tension may affect the point of contact downrange.
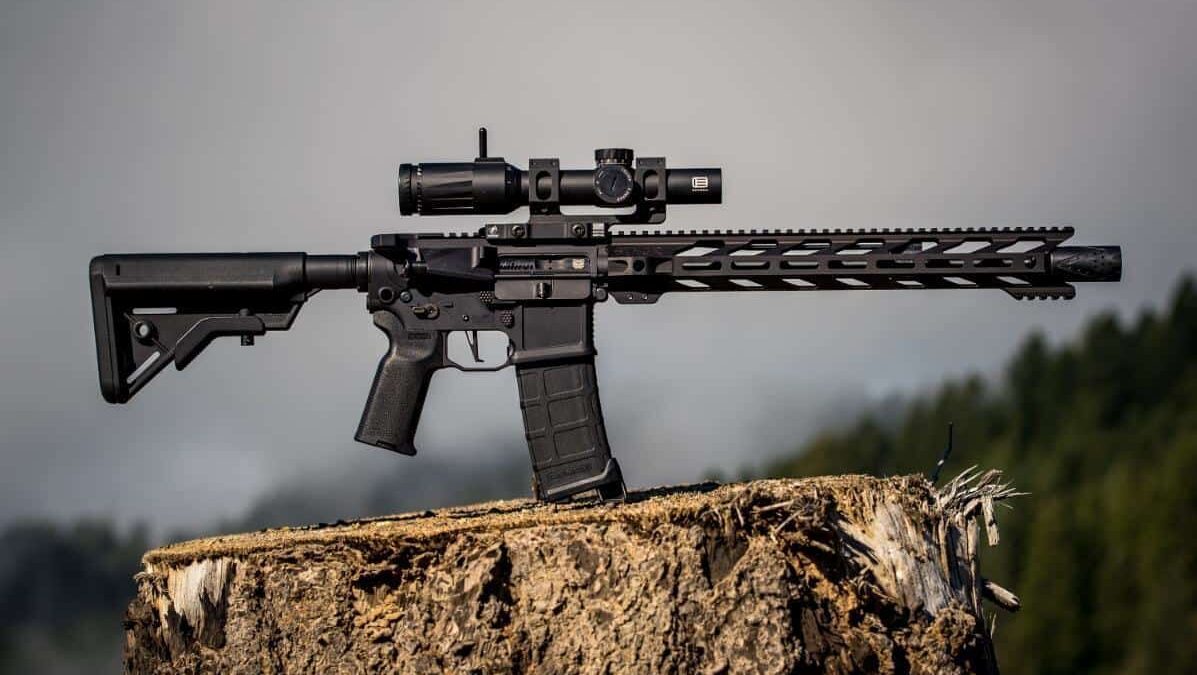
Because of the attachment of the gas block and gas tube, a direct impingement AR-15 can never be indeed “free-floated.” However, the addition of a quad rail or other free float style handguard can support with precision while also providing a steady and comfortable platform for attaching bipods, lights, grips, and other accessories.
In this article, we’ll show you how to install a Free Float Quad Rail Handguard on an AR-15 in a step-by-step fashion.
How to Install A Free-Float Handguard
1. Have the Right Tools & Parts
Take a careful look at the kind of gas system that is presently on your rifle before designing your free-float modification. Most conventional front sight gas blocks are secured to the barrel with either tapered pins or clamps. Before beginning work, make sure you have all the necessary equipment and components for disassembly and reassembly.
2. Remove Handguards and Separate Receivers
You must remove the standard AR-15 handguard. This is accomplished by progressively removing half of the plastic handguard while pulling the ring in the receiver’s direction. If you’re going to do this more than once, it’s a good idea to invest in a handguard removal tool. Because the ring is under high spring pressure, it makes the operation easier and quicker.
3. Inspect the Front Sight Gas Block
To examine the front sight gas block, use a #2 roll pin punch to tap out the rail’s gas tube roll pin. If you come across tapering pints, drive them out with a cup tip punch of the tiny portion.
If you are unsure, measure the diameter of the pin per side. If the pins are difficult to remove, use penetrating oil and let the oil rest overnight. Another alternative is to use heat to speed up the removal process.
4. Loosen the Set Screws
You’ll need a hex key to release the screws when you have a clamp-on kind of gas block. Remove the conventional front sight gas block assembly from the rail barrel to do this. If you’re having difficulty getting it off the barrel, gently hit it with a soft-faced hammer. Then, take out the retainer and the gas tube.
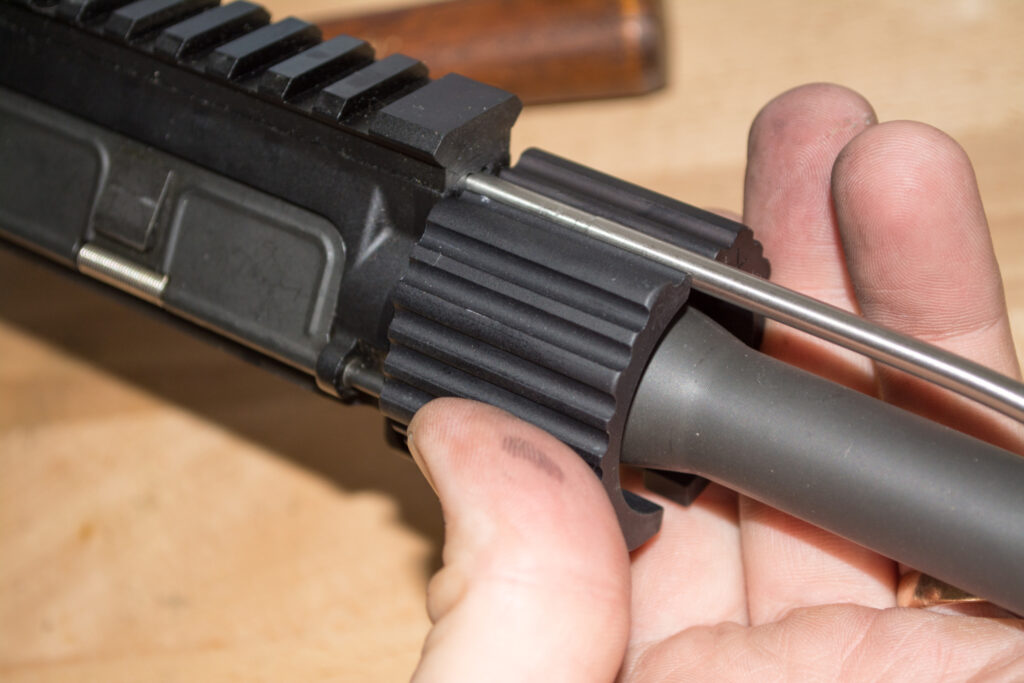
5. Align the Gas Tube Through-Hole
The next step is to align the gas tube through-hole on a bench block. Make sure the big side of your new low-profile gas block is pointing down. In addition, start the roll pin with the roll pin holder. To drive the roll pin flush, use a gas block after removing the ordinary delta ring assembly with the armorer’s wrench, clean and inspect the threads.
6. Inspection of Upper Receiver Threads
Disconnect the anti-rotation screw from the foot of the handguards and loosen the barrel nut to remove it. Apply a papery coating of high-quality lithium moly grease to the barrel nut’s threads. Install the lock ring above the barrel to ensure it faces the receiver. Finally, tighten the barrel nut by hand.
7. Set & Re-torque the Wrench
Set the torque barrel nut wrench to 30ft and use the armorer’s wrench to fasten the barrel nut. Also, avoid using the torque wrench to loosen anything.
After that, you must re-torque to 30ft. Remove the torque wrench and tighten it again. Torque it to 30ft one final time and check the alignment between the barrel nut and the gas tube hole in the upper receiver.
To allow the upper receiver and barrel nut threads for efficiency, repeat the torque sequences three times.
8. Tighten Barrel Nut & Set Screws
Secure the barrel nut until the gas tube cavity and the aperture of the barrel nut is perfectly aligned. When doing so, ensure sure the wrench does not extend beyond 60 feet. The holes should be spaced 35 foot-pounds apart. Meanwhile, the gas tube must be positioned in the nut hole without contacting the edges.
You may use the bolt carrier may be used to check for correct gas tube installation. All that remains is to attach the bolt carrier group to the upper receiver. If you’re having difficulty, don’t loosen the barrel nut partly to achieve perfect alignment since it won’t assist you incorrectly install the rail.
9. Adjust the Quad Rail Lock Ring
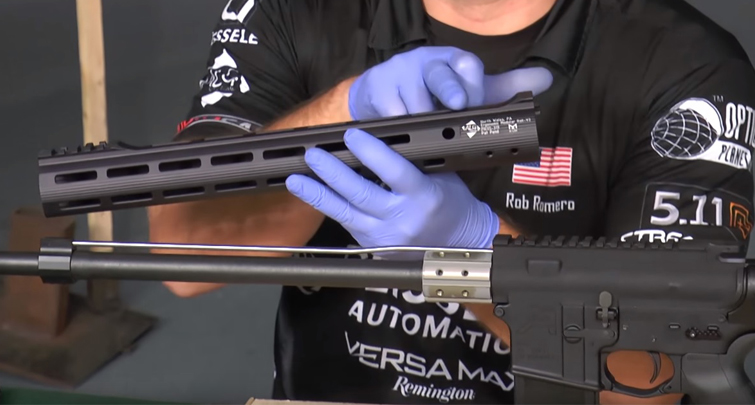
You must apply the blue thread locker to the gas block’s set screws. Then, to effectively update your weapon, slide the gas block assembly onto the barrel nut.
This procedure guarantees that the barrel’s gas port is parallel to the opening in the gas block. Finally, after ensuring that the gas port is aligned, strengthen the set screws on the block correctly before going to the top rail alignment.
Furthermore, the lock ring and free float handguard must be adjusted until the top rail is near to aligning with the upper receiver’s rail.
10. Reinstall the Devices and Receivers
Finally, replace the muzzle device with the crush washer and carefully line it. The flash hider is attached to the vented ports facing upward, while the 308 muzzle brakes are attached to the ports facing the sides.
You must install a blue thread locker on the anti-rotation screw located at the handguard base. Make sure that it is hand tightened.
After replacing the charging handle and rail bolt carrier group, assemble your upper and lower receivers. Iron sights may be mounted on a quad rail to help you aim. However, for particular purposes, these sights are usually replaced with telescopic sights.
