
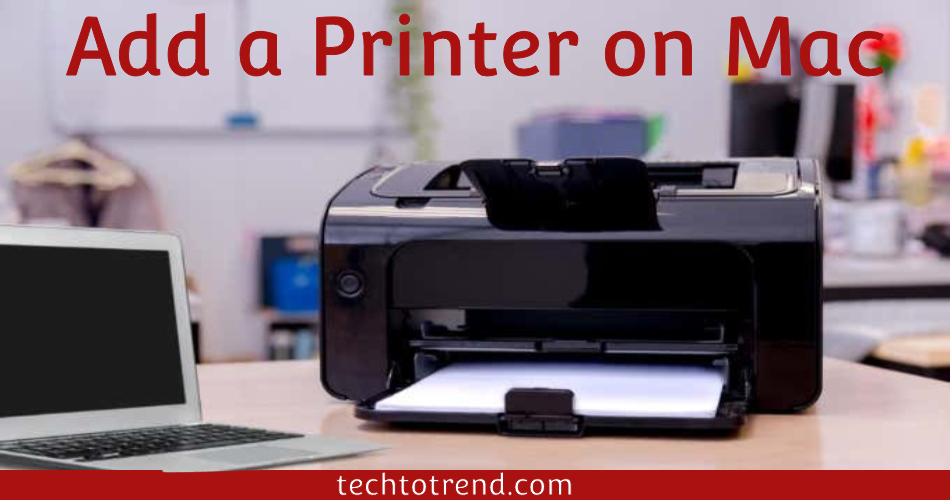
Did you recently buy a MacBook laptop and facing a problem to add a printer to a Mac. You constantly experience confusion while trying to install a wireless printer to your Mac for the first time.
How to Add Printer on Mac
While connecting a printer to your Mac mainly depends on the printer that you are using. In case, the printer is a relatively new model then there is a chance that it supports Airprint. If such a case appears, you can put up Airprint and finish your task within moments. In case, this does not support Airprint, after that, the user will need some printer drivers. Such drivers can be found on your system or downloaded from the internet.
How to Add a Wireless Printer to a Mac

In case, you need to learn How to add a wireless printer to a Mac, for that connect to the Wifi network first. Use the provided display on a Mac printer that has a built-in display to type the WiFi network’s name and password. On the bottom of the internet’s main router, you can find these facts.
After that, if the printer uses a Wifi Protected Setup (WPS), For information on how to add a printer, consult the router’s manual. Here are the steps to adding a printer to a Mac:-
- First of all, launch Airport Utility. It’s in the Utilities folder which is in the Application folder.
- Tap the base station in Airport Utility. Now, insert the password for the base station if the prompt appears.
- The next step is to access the menu bar and select Base Station Add WPS Printer.
- Then, as an alternative, you can choose PIN or Select and First Attempt as the WPS-acceptable connection type.
After that, select continue to add the printer to your Mac. If it is a “First try,” you can push the WPS button on the printer. Click done when the printer’s MAC address appears.
In the event that you chose “PIN,” type the printer’s PIN number. It ought to be included in the list in the printer’s documentation. Click Continue to add a printer after this. Clicking “done” is the last step.
- As the last step in the process of connecting a printer to a Mac, close AirPort Utility.
How to Add a Network Printer On Mac
Before adding a printer you have to know how to add a network printer in Mac, the addition of a printer can be done in a similar way as a wireless printer. From Ethernet or via Wifi your printer may be connected to any one of these networks. This you may find in the Default Tab in the Printers and Scanners tab on your Mac.
Connect it directly through USB into the router to the Mac on the network if neither Ethernet nor WiFi are an option. Then add the printer by adding it from Printers and Scanners.
How to Find IP Address on a Mac
In the Default Tab of the Printers and Scanners, you did not find the printer. In this situation, you need to connect via the IP tab. Search for the printer IP address to learn How to Add a Printer on Mac.
You can access this IP address by heading to the networked Mac. Using the Bonjour Browser, this needs to be set up for the printer. This is a default setting in Safari. Go to Preferences > Advanced to turn it on as well. The options are “Include Bonjour in the Favorites bar” or “Include Bonjour in the Bookmarks menu.”
As soon as you get the IP address, you can put it as it is in the address tab in the Printers & Scanners menu. Also, you can name the Printer. To do so from the drop-down list choose the printer and then tap on add.
Before printing several pages to add the printer, one of the best pieces of advice is to test the printer by making a test document in Text Edit.
