
Introduction
It is important to make sure that you are ready before you begin painting the interior of your home, as this step comes before the actual painting. The first thing that needs to be done is to make certain that the walls are spotless and devoid of any traces of grime or dust. When it comes to cleaning the walls, you have the option of either using a vacuum cleaner or a damp cloth.
The next thing to do is to fill in any cracks or holes that may have appeared in the walls. You can use a filler or spackling compound to fill in the cracks in the surface. When the walls have been cleaned and the holes filled in, you can then begin applying the primer. The primer helps the paint to adhere to the walls and also helps to even out the surface so that the paint can be applied more evenly.
Taping off any areas that you do not want to be painted, such as windows, door frames, and mouldings, is the very last step in the process. Because of this, you will be able to increase the likelihood that the finished product will be neat and tidy.
How to Determine Which Paint Is Best for the Interior of Your Home
The next step, which comes after you have prepared the walls, is to select the appropriate paint for the interior of your home. When it comes to selecting the appropriate paint, there are a few things to keep in mind.
The first thing that needs to be taken into consideration is the level of quality of the paint. You need to select the best paint for interior that not only has a high level of quality but also has a high level of coverage.
The finish is the second aspect to take into consideration. You need to select a paint that provides a finish that is either smooth, glossy, or matte, depending on the look that you are attempting to achieve. The colour should be your third and final consideration.
You have to select a colour for your home that will go well with the furnishings and decorations that are already there. And last but not least, you should think about the cost. You need to select a paint that falls within your financial constraints and provides a satisfactory return on investment.
A Step-by-Step Instructional Guide to Painting the Interior of Your Home
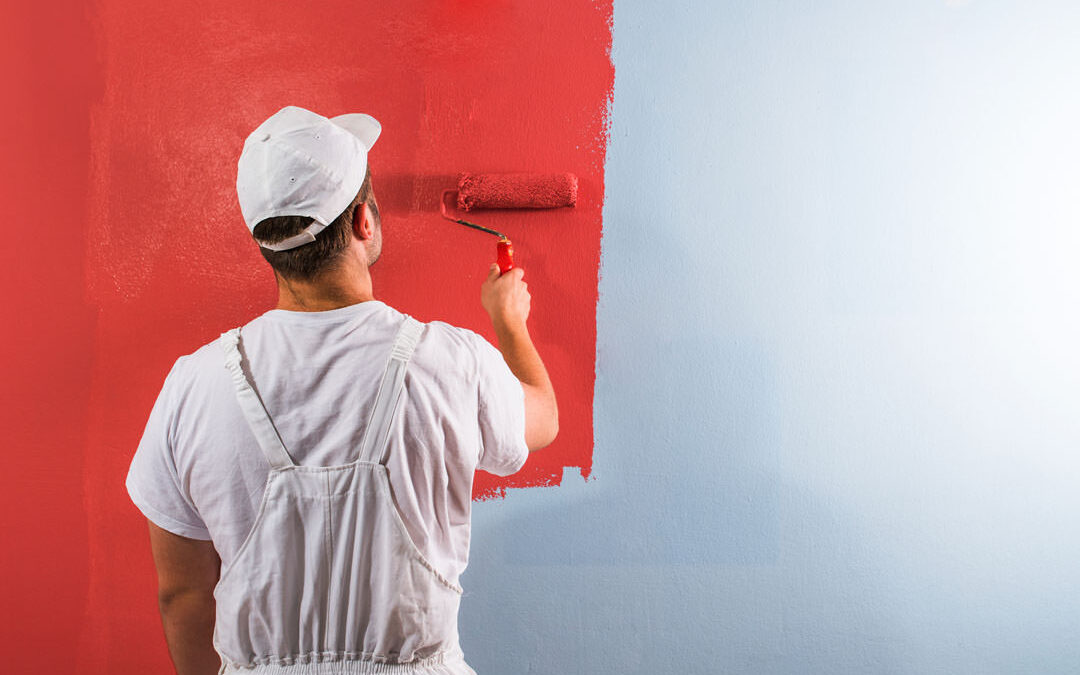
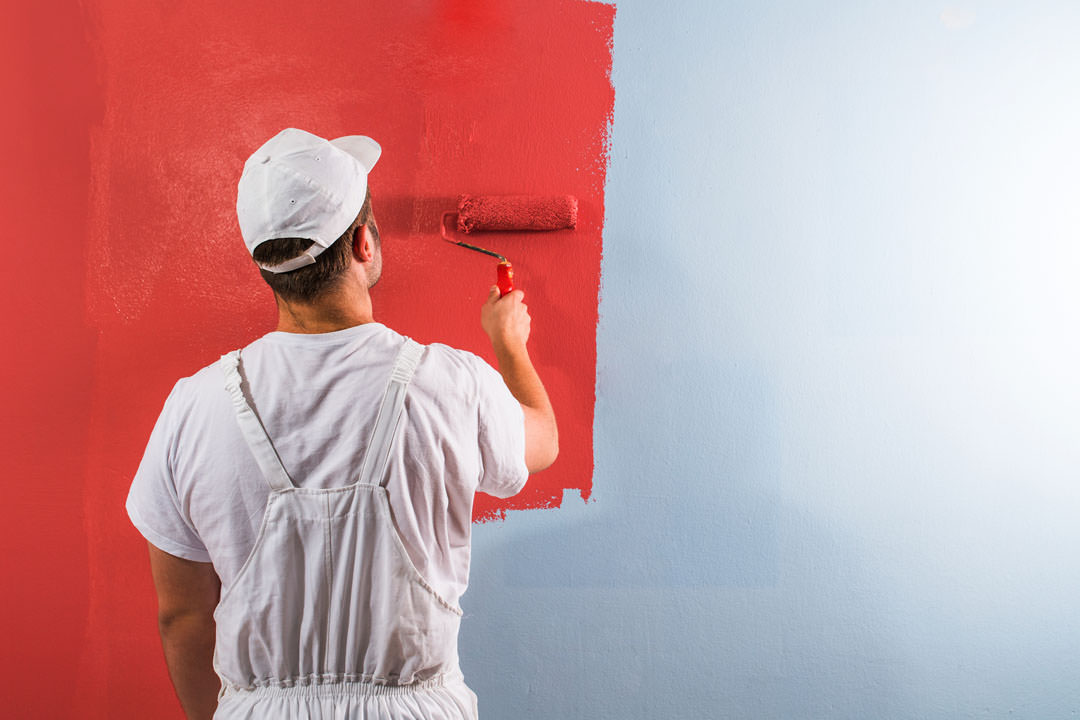
The subsequent step, which is to begin painting your home’s interior, is to be taken after you have determined which paint to use and have made your selection. The first thing that needs to be done is to begin by painting the mouldings, doors, and windows. After that, you can move on to the next step. You can apply the paint with either a brush or a roller. Both options are available to you. It is imperative that you begin at the highest point possible and work your way down.
The next thing to do is to paint the walls using the paint that has been purchased. You can apply the paint with either a brush or a roller. Both options are available to you. It is imperative that you begin at the very top and work your way down. After you have applied the paint to the surface, you can use a roller to smooth out the surface and remove any brush strokes that may have appeared.
In the final step, you will apply a second coat of paint if the first one was not sufficient. You can remove the painter’s tape from your freshly painted home interiors as soon as the second coat of paint has had enough time to dry after being applied.
Summary
Before painting the interior of your home, make sure that the walls are spotless and devoid of any traces of grime or dust. The primer helps the paint adhere to the walls and also helps to even out the surface. Taping off any areas that you do not want to be painted is the last step in the process. You need to select a paint that provides a finish that is either smooth, glossy, or matte, depending on the look that you are attempting to achieve. The colour should be your third and final consideration. You can apply the paint with either a brush or a roller.
