
Are you thinking about recording your own voice-over for the first time? It’s not as difficult as it sounds and with the right tools and techniques, you can record your voice over in no time. Voice overs are an essential part of any video project. Whether it’s a tutorial, a commercial, or an explainer video, they play a big role in bringing your message to life.
Voiceovers can be challenging even for professional voice actors; and when you’re starting out as a beginner, things get even more difficult. After all, recording the perfect voice-over requires practice and persistence.
However, once you get the hang of things, you’ll realize how easy it is to record your voiceover and that you can do this again and again until you produce something that’s just right. Here are the top three tips you can follow to record your voiceover easily.
1. Know Your Audience and Purpose
First of all, who are you recording the voiceover for? What will it be used for? These are important questions to ask yourself. Your audience’s demographics, language, dialect, cultural habits, preferences, and expectations — are all crucial details that you have to keep in mind.
A voice over that resonates with your international audience may not have the same effect on your local audience. Similarly, a voice over that’s meant to convey a sales pitch will be different from one that delivers a message to inform or inspire. Knowing your purpose and audience will help you decide on the tone, speed, and volume of your voice.
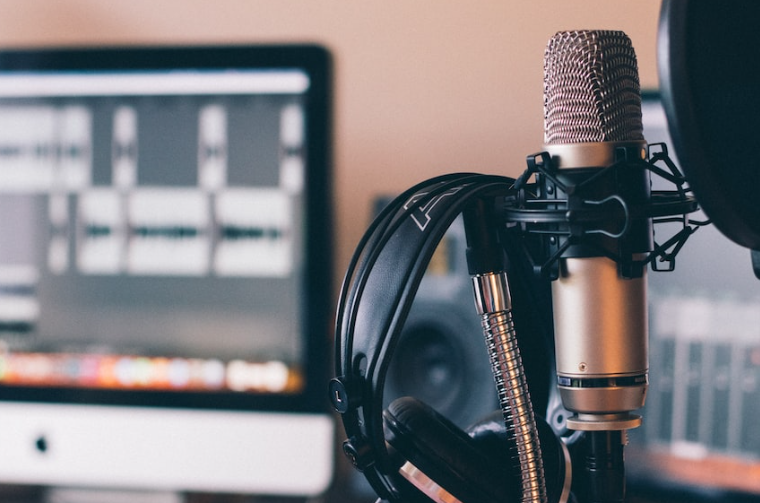
2. Choose the Right Equipment
The equipment you use will largely depend on the type of voice over you’re recording. For example, if you’re recording a voice over for a presentation, an ordination, or a podcast, you can use your laptop’s built-in microphone. However, for a voice over that’s meant for a commercial or explainer video, an external microphone is essential.
There are a few factors to consider when choosing a microphone for your voice over:
- Preamp
The preamp is basically a device that boosts the signal from your microphone. As a beginner, you may not have the expertise or sensitivity to handle a low-level or weak signal. In this case, a microphone with a preamp will help you boost the audio and make it louder.
- Recording Space
The optimal recording space should be free from any external sound or noise, have an even sound, and have good acoustics. If you don’t have a soundproof studio, you can use a wall, a door, or a duvet to block out the noise.
3. Establish a Good Environment
There are many things you can do to make your recording space sound more appealing. Here are a few recommendations:
- Temperature
Keep the temperature in the room comfortable and avoid it from getting too hot or cold. Extreme temperatures affect your voice and are likely to create an uneven sound.
- Humidity
Humidity is your friend when it comes to voice overs; it keeps your throat hydrated, allowing for a clear and pleasant sound.
- Sound
Make sure your recording space is free from external sounds and noise. Try recording your voice over at a place that’s as quiet as possible. If it’s impossible to eliminate all the external sounds, use a soundproof duvet or pillow to block out the noise.
- Food and Drink
Avoid eating and drinking right before you record your voice over. Spicy food, coffee, and tea can make your voice hoarse, while dairy products can cause it to become thicker.
Wrapping Up
As a voice over artist, you are the face of your brand. Your voiceovers are what potential customers listen to when they watch your videos. To make the best first impression, your voice overs need to be clear, concise, and easy to understand. Your voice over doesn’t have to be perfect the first time around. Like every other skill, it takes practice to perfect it. With the right tools and techniques, however, you can record your voice over easily. If you want to get the best recording for your videos, you can use voice-over Indonesia to help with your content.
