
It tastes fantastic! We all enjoy it since there is such a large selection, which ensures that everyone can find something they enjoy.
Photographing it to make it seem as beautiful as it tastes is not always the best idea.
Since food should be enjoyed with all five of your senses, it can be challenging to give it right in the 2-dimensional space of a photograph.
When photographing food goods, it’s common to take pictures of them outside of their packaging and containers in addition to within.
So, here are five short tips that food product photographer should be aware of.
-
Avoid Ice Cream At All Costs.
Although photographing ice cream might be difficult, don’t worry; with a few basic tips, you can conquer the frozen treat.
Don’t simply take a picture of the ice cream in the container when you’re taking a picture of it. Customers do not see it that way when they think of ice cream, and it is never delivered that way. Therefore, it won’t be appealing.
Take a couple scoops, then start shooting! The secret is to remove your product from the packaging in advance and store it on dry ice.
When you’re ready to take shots, set up the ice cream and gently blow through a straw to remove the “smoke” (vapour) before you begin snapping photos.
The ice cream can start to melt and leak if you blow a bit longer, as described above.
-
Unwind With Some Fruit And Salad.
Use some presentation flair when shooting straightforward items, like in the example above. Which is more attractive? A whole lime and lemon, or this image?
Consider how you may display some of your more “mundane” goods.
Additionally, keep in mind that soaking your greens in ice-cold water right before taking the shot can make them appear much greener.
Have your basin of cold water ready, submerge them for a short period of time, shake them gently dry, and you are ready to go.
-
Sauce Bottle Success
We won’t go into detail about how to shoot glass in this article, but be sure to read it for further guidance on photographing bottles.
One fast suggestion is to give any sauce bottle you plan to picture a brisk shake before you start shooting, like Brent Herrig food product photographer did just last week*.
It coats the interior of the bottle and is far more photogenic than a partially filled bottle with an air gap at the top, as seen by this illustration.
-
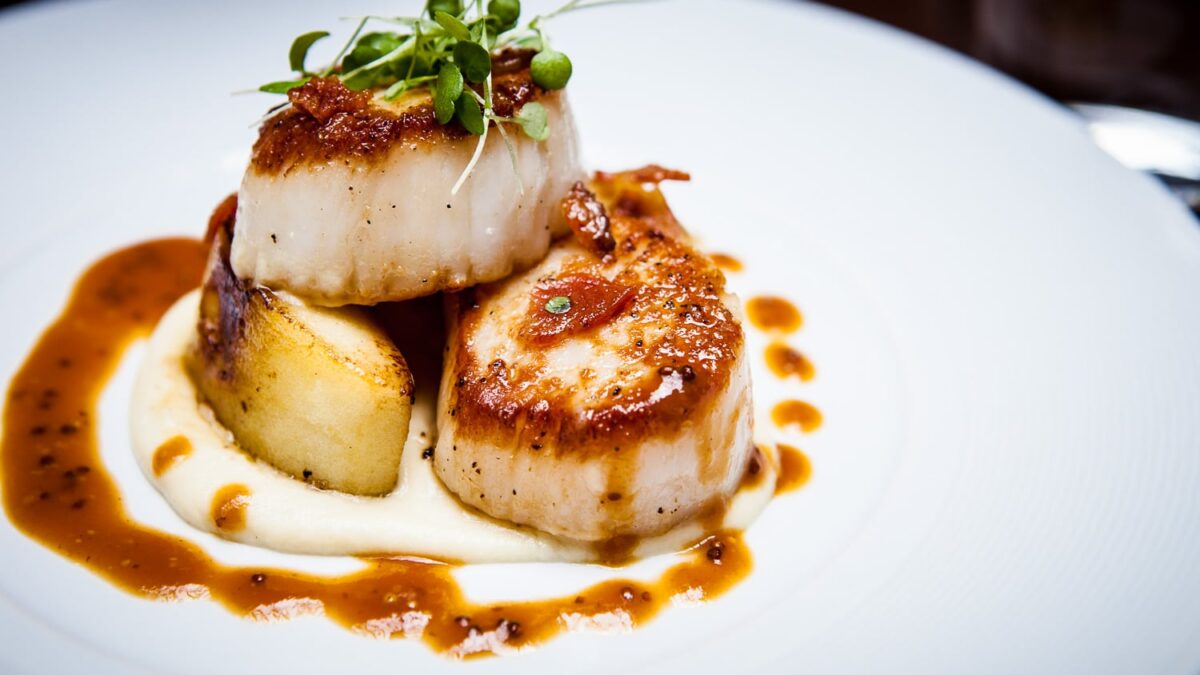
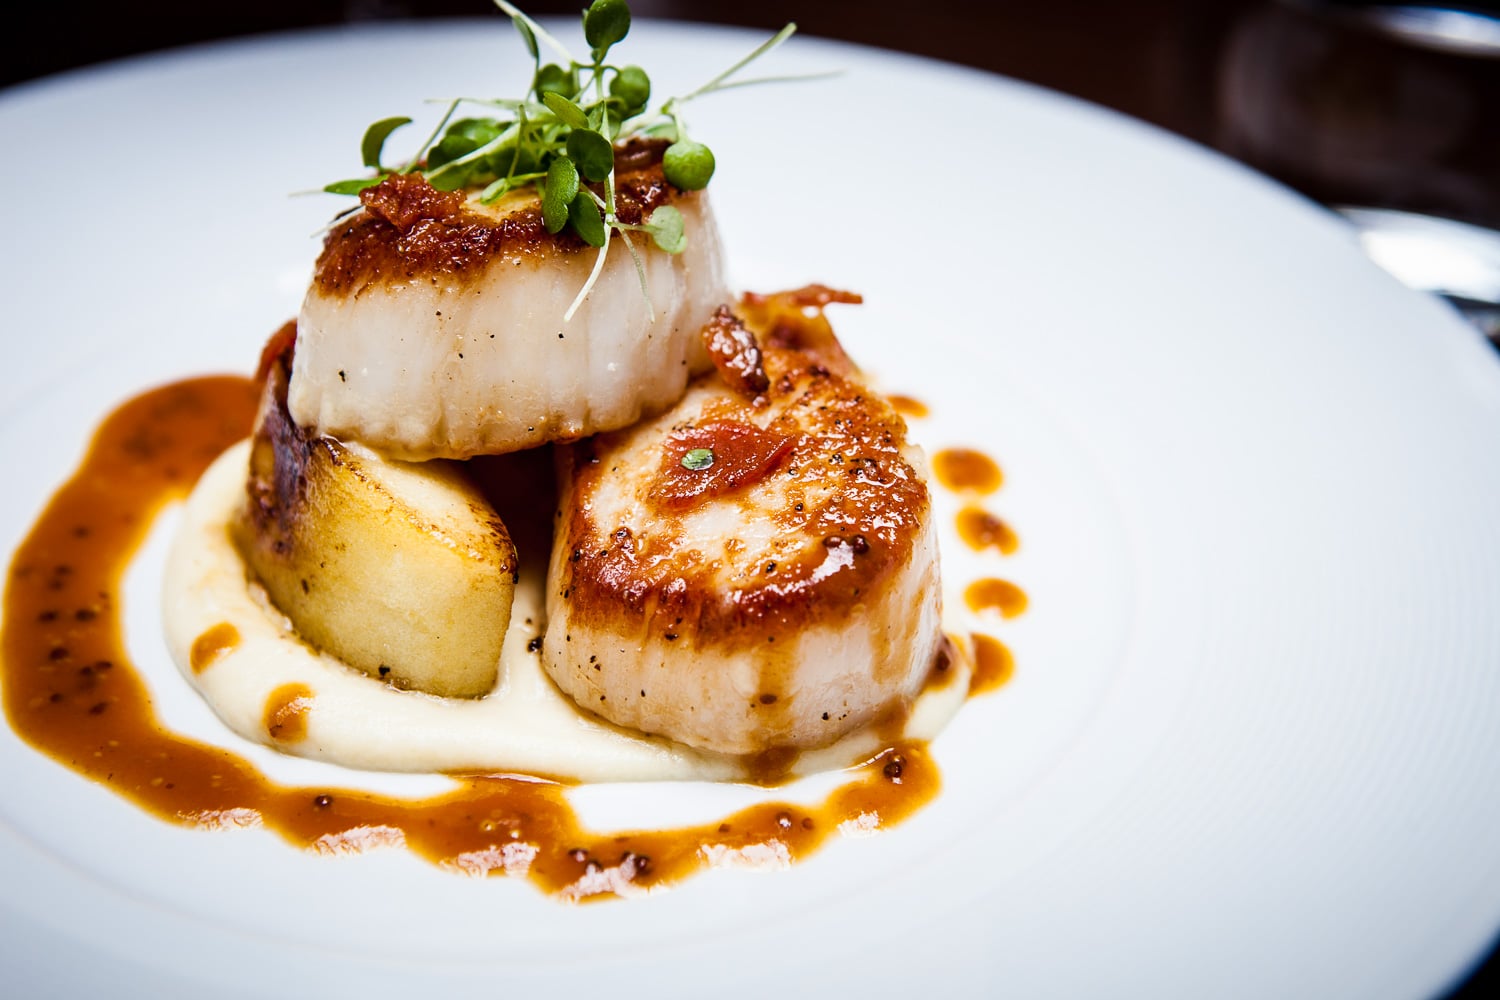
Drizzle Increases The Sizzling
Not all food items have visually appealing packaging.
Get it out and show it being utilized, like in this photograph, if that is the case. A picture of the package doesn’t appear particularly intriguing on its own and doesn’t really sell the “sizzle.”
But if you pour it over some pancakes, the audience is immediately tempted to eat it and is far more inclined to buy it!
Give your food product image some context; it frequently requires it.
-
Spray It Off!
The packaging for many fresh goods must be removed before taking pictures of them; serving recommendations are one such example. Keep a few bottles on hand if you’re taking pictures of fresh food.
Give hot food a brief, gentle spritz of vegetable oil to improve the shine before photographing it.
If the meal is cold, spritz it with cold water to give it a crisp finish instead.
Throughout your session, keep these two spray bottles nearby, but keep in mind that little is more! Don’t go overboard. All you need is a little touch and a thin spray.
Thoughts To Ponder
We often say that we eat with our eyes first, therefore whatever food goods you are shooting, visual appeal is much more crucial than with many other things.
Any competent food product photographer can accomplish this. A skilled food product photographer will be able to capture the necessary details and emphasize them in the best way possible.
There is probably a Brent Herrig food product photography expert nearby because we have them all around the world. So, hire a photographer like Brent Herrig to acquire the greatest photos possible for your culinary goods.
