
The Metaverse refers to the decentralized virtual technology developed on the blockchain network. This means it’s not controlled by central authorities. Metaverse is a user-generated eco-system where users can make their digital assets such as lands, avatars & other virtual items. In addition, with the massive demands of the Web3 applications such as virtual games, events, and social networks, users have already started exploring this technology to implement it in their business operations and workflows.
Metaverse development is quite vast and it includes multiple tools & technologies; one of the most recognized tools of Metaverse dApp is Unity. This blog will help know what is unity metaverse and how to develop a metaverse dApp with Unity.
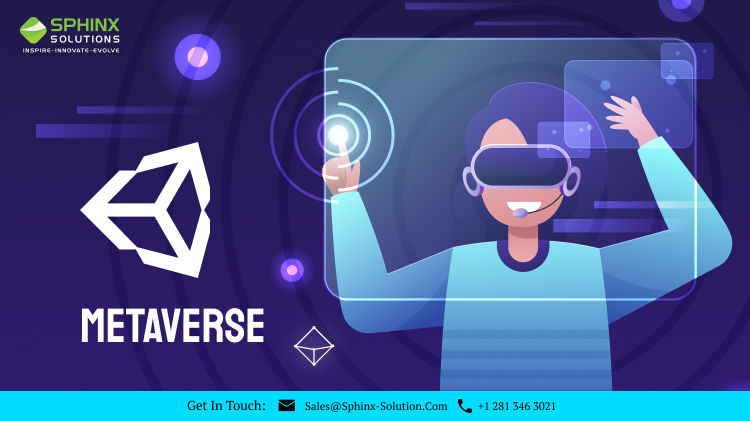
What Is Unity Metaverse?
Unity is a flexible tool that gives scopes for a number of customizations while making dApps & multiple Metaverse games. It’s an agile technology having built-in features, cross-platform operability, Unity asset store & graphical components. It plays a big role in developing next-gen Metaverse dApps and ecosystems.
Professional Unity developers build metaverse rewarding spaces with Unity financially. They also focus on futuristic metaverse development by incorporating features like cross-chain interoperability. Using highly advanced APIs, dashboards, and servers, developers can ensure the right smart contract event indexing and syncing. Some of the popular Unity development solutions include:
Full-cycle game production: From system architecture design and development to API execution to testing, Unity developers offer full-cycle development solutions.
Integration services: Integration services contain Unity Analytics, API integration, webhook integration, Unity Multiplayer integration, Unity Cloud Build, etc.
Metaverse gaming: Experts build customized decentralized metaverse that combines the potential of Unity development tools and Blockchain technology.
2D/3D gaming: With the help of Unity development tools, developers build 2D/3D games compatible with multiple platforms and devices.
How to Create Unity Metaverse Dapp?
Development of metaverse dApp with Unity has three different stages:
- Make a 3D world
- Make an Avatar
- Add the Web 3 login wallet with the QR code option
Want to Launch a Future-ready Metaverse?
Take your business to the new height of success with our diverse range of powerful metaverse software development service.
Steps of Making A 3D World With Unity
In the Project section, you need to select “Scenes” under “Assets,” & then right-click and choose “Create” and “Scene” respectively. Now, give a suitable name, for instance, “Scene A.”
Now, you have to return to the project section & click on “Assets” again to go to “Third Party.” This folder has free assets.
Within this folder, select “Rooms” and go to “Scenes”. Now, choose the scene asset known as “The Last Revelation.” It’s a medieval theme selected for making a sample metaverse. After selecting the scene asset, in the “Scene” window you can see the 3D world.
Now, in the “Hierarchy” window (right side), you can see all GameObjects for a specific scene asset.Game objects such as tables, books, lights, chairs, and the bookcase will be visible in the “Scene.”
In this step, you may add objects to the 3D world. For that, select “The Last Revelation” on the “Hierarchy” window and then go to “GameObject” and select “Create Empty”. You can name it “customroom.”
Now, select “Assets” and go to “Prefabs”. Then, you have to make the folder & store all game objects in the folder. “Prefab” enables you to make, set up & preserve game objects.
Next, select “Assets” and go to “Scenes” and “Scene A” respectively & then choose “Prefab” & go to “customroom.” With this step, your new game object will be added to your medical library scene, & you will see it in your “Scene” window. In this process, you may continue making game objects, store them in “customroom” & after that add them to the main scene.
Steps of Making An Avatar With Unity
Here, you may have a three-dimensional world just like a medieval library and you have to make a 3D character known as an avatar.
In the project panel, select ‘Assets’ and go to ‘Third party’. Now click ‘Starter Assets’ & then find ‘NestedParentAmature’ which is a character Prefab. Then, you have to choose that Prefab & in the medieval room, and the character will be added. The character may occur in a robotic appearance.
In this step, you rename it as per your choice, by converting the tag in the “Hierarchy” window. Moreover, you have to insert a mesh collider into the room so that your avatar may walk on the floor & there will be zero free falling.
After that, you can easily check the movements of characters within the room by selecting the Play button & the movement keys. Then the character can freely walk around the room.
Next, to add a change to the 3d model of your character, right-click on your character name in the hierarchy window; here it is ‘PlayerAmature.’ Then, from the right menu, choose ‘Unpack Completely’ to unpack your character prefab.
Now, you have to modify your character model. For that, you have to select ‘Assets’ in the ‘Project’ panel. Now choose ‘Third Party’ and select ‘Cartoon Heroes’ then ‘Characters’ and select ‘Male C’. Here, you can choose the sample based on your preference.
In this step, in the hierarchy window, you have to right-click on the character name for a modification. Then, you need to choose ‘Unpack Completely’ to unwrap your character prefab from the right menu.
Now, you have to open the hierarchy window and select ‘PlayerAmature’ to modify the model. Now select ‘Geometry’ and ‘Amature_Mesh’ and delete them.
Under ‘Geometry’, you have to add your character prefab which is ‘Male C.’ With that, you will be able to see a modified character version in the Scene view.
Now, select ‘PlayerAmature’ again in your hierarchy window. From the ‘Animator’, you have to modify Avatar into the Animator, & select the play button to find its movement in the room.
After that, you need to enhance the character sample to make it bigger. For that, you need to select ‘PalayerAmature,’ and then go to the scale tool above the ‘Scene View’. Now, stretch the sample simply for scaling it and play it to check the character within the medieval library’s 3D world. You can check all character’s movements such as walking, running, jumping, etc.
Once you have done all these steps, the 3D Scene & the avatar model will be ready. The next stage is to add some blockchain components or features like Web 3 wallet login.
Steps To Add a Web 3 Wallet Login With A QR Code
Step 1: Web3 backend platform selection
You need SDKs offered by backend platforms that allow users to get authenticity with the crypto wallet aids. It also enables users to login to a digital platform and decentralized application. You can also choose SDKs that enable Web3Api integration with Unity 3D.
Once you’ve selected the backend platform, download the metaverse SDKs from the GitHub page. Now, you have to return to Unity, and drag & drop the downloaded Web3Api SDKs into the interface of Unity. Confirm the import, and then the imported Web3ApiSDK folder will be visible on the Unity interface.
Based on the SDKs of the backend platform, you can access multiple types of tools – according to the metaverse development company. However, for better understanding and convenience, here are some generalized steps for explaining how to integrate the web 3 wallets into the metaverse dApp.
Step 2: Wallet connect setup
For this metaverse dApp, you can assume that the backend platform’s SDKs can support the web 3 wallets known as Wallet Connect. This is a completely open-source protocol that connects a decentralized application to the wallets with QR code scanning. Now drag the Wallet Connect from your SDK & drop it into Unity’s ‘Hierarchy’.
Step 3: Server setup
In this step, you have to build the server. So, you need to login to your backend platform and then make the server with the help of self-explanatory stages. Whether you would like to go live or check a decentralized application, you can use either the mainnet server or the testnet server.
Now, you have to give a name to your server & select your region. You need to specify the blockchain that you like to use. It can either be Ethereum, BSC, or Polygon.
Different backend platforms support different chains. So, based on the options available, you have to select the right blockchain platform that suits you.
After that, you choose a node to connect your decentralized application to the blockchain platform. Web3 platforms offer reliable and high-speed nodes. According to your server, you should select nodes. For instance, you can go for the Ethereum nodes, if your server is on the Ethereum mainnet.
Step 4: Web 3 wallet login integration
Once you have made your server up & accessible with nodes, you can easily access the URL & application ID of your server. Now, you have to copy the URL address & then return to Unity. Now, paste it next to “Web 3 Rpc Node Url”.
After that, you have to link Wallet Connect in your “Wallet Connect ” section through drag & drop from your “Hierarchy” tab.
Step 5: QR code implementation
You have to make a canvas panel for allowing user login via QR code. Now, right-click & choose “Create UI Canvas” in the Unity workspace. After that, go to the “Create the panel” option.
Inside this panel, click the “Create an Image” option. Therefore, you can see a white color image on the Unity “Scene” window. You will be able to change this color & scale it based on your requirement.
Finally, select the “Add component” option in the “Inspector” tab and find “Wallet Connect QR Image”. It will start making random QR codes when the users try to log in. The users need to scan the QR code with their crypto wallets & then they can easily log into the metaverse dApp.
Looking for Experienced Metaverse Developers?
We specialize in designing and developing tailor-made metaverse solutions that all your effective business needs.
Final Words:
Unity is an adaptable platform that needs a number of customization and plays a good role in the dApp development process. As a robust forum, Unity developers prefer to work on it. The built-in tools, cross-platform operability, and graphical components make next-gen metaverse development easier. If you want to know more info on Unity development services, talk to our experts today.
