
If you are a fan of the Silhouette Cameo range of cutting machines, the fact that the Silhouette Cameo 3 comes with a few handy updates might have you a little curious. The Cameo 3 machine includes a touchscreen feature and dual carriages. Also, it has an auto blade and can cut up to 2 mm deep.
What’s more? You do not need to connect it with a cable to transfer files, as there is Bluetooth connectivity ready for you.
So, if you have already bought a Silhouette Cameo 3, you must be wondering how to setup Silhouette Cameo 3. Well, you have come to the right site. In this guide, we will show you how to set up your Cameo 3 machine on your computer using a USB cable.
Let’s get started……
Using the Cameo 3 machine for the first time can be a bit daunting, especially when it’s being set up for the first time. We have broken down the entire setup process to make it easy for you:
Step 1: First, Create an Account
Start by taking the Cameo 3 machine out of the package. Once the machine is out of the box, you can register the machine at silhouetteamerica.com/setup. Select your language on the Machine Set Up webpage and tap the Cameo 3 tab. Fill in the required details. To find a machine serial number, check the machine’s back. Finalizing the registration process will also sign up for your Silhouette account.
Step 2: After that, Check The Box Items
Once your Cameo 3 machine is registered, check to confirm you have everything included in the box. In addition to the machine, there must be:
- Silhouette Cameo 3
- A power cable and A/C adapter
- A USB cable
- A cutting mat (12 x 12-inch)
- An auto blade
- A cross cutter
- Bluetooth removal tool

Once unpacked, you will need to remove all tape and foam from the Cameo 3 machine.

Plug the included A/C adapter into the right side of your machine and an electric outlet. Turn on your machine by clicking the Power button. Go to the initial setup screen to select your language and other options.
Step 3: Download and Install the Studio Software
Now that your machine is set up, you can download and install the Silhouette Studio. To download the program, visit silhouetteamerica.com/software, where you should see a rectangle saying ‘Update Software’ in the top right corner of the webpage.
After pressing the button, a link will appear to download the software. Depending on your operating system, choose either the Windows or Mac option.
If you use it on a Mac, you will be directed to drag and drop the Studio software icon into your Applications folder, while Windows users must follow the on-screen steps to install the software.
Once the download process is finished, run the file and follow the on-screen prompts to install and set up the software.
Step 4: Connect Your Cameo 3 To The Studio Software (Using a USB Cable)
Once the software is installed on your computer, you can connect the software to the Silhouette Cameo 3 machine.
Firstly, plug the machine into the power supply (using the A/C adapter) and connect it to your PC via a USB cable.
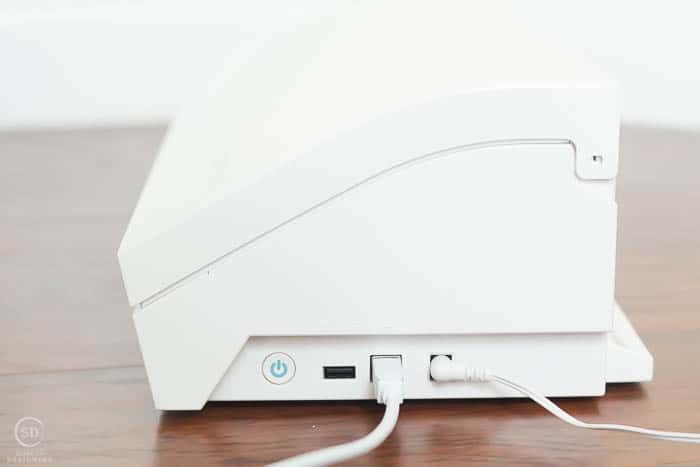
Turn on the machine using the power on/off button, and you will see the LCD display light up and guide you through the setup.
Your PC can also guide you through the process – simply follow the on-screen steps.
Step 5: Access the Free Library For Your Machine
Within the software, the library will be accessible with your account from any machine you’re logged into. Registering your machine will give you access to 100 free designs in the library. To access the library, open the Library tab in the software. If asked, you’ll need to sign in to your account to confirm that you’re connected to the Internet. Your 100 free designs will be automatically loaded into the library once you connect to your machine using a USB cable. If you don’t see them, just unplug a USB cable and reconnect to your machine.
Step 6: Claim Your Free 1-Month Design Store Plan
In addition to the 100 free designs that include the machine, you also have a free Design Store plan for one month. To activate your plan, open the Store tab in the software and sign in to your account. After signing in, click the “Subscribe & Save” button at the upper side of the screen.

After that, tap on the “Payment and Billing Info” option and enter the code emailed to you when you registered your machine.
After entering the code, press the “Apply” button. It entitles you to 1-month of a free Design Store plan. You’ll get $25 in Design Store credit (valid for 30 days.) All content downloaded from the Design Store will become part of the library, and any downloaded during your plan will remain with you.
The Design Store has over 100,000 designs, quotes, fonts, and patterns created with the machine. Find unique designs, then download them across all your craft projects. Most designs are offered for only $0.99 and are also cheaper with subscription or Credit Boost discount options.
