
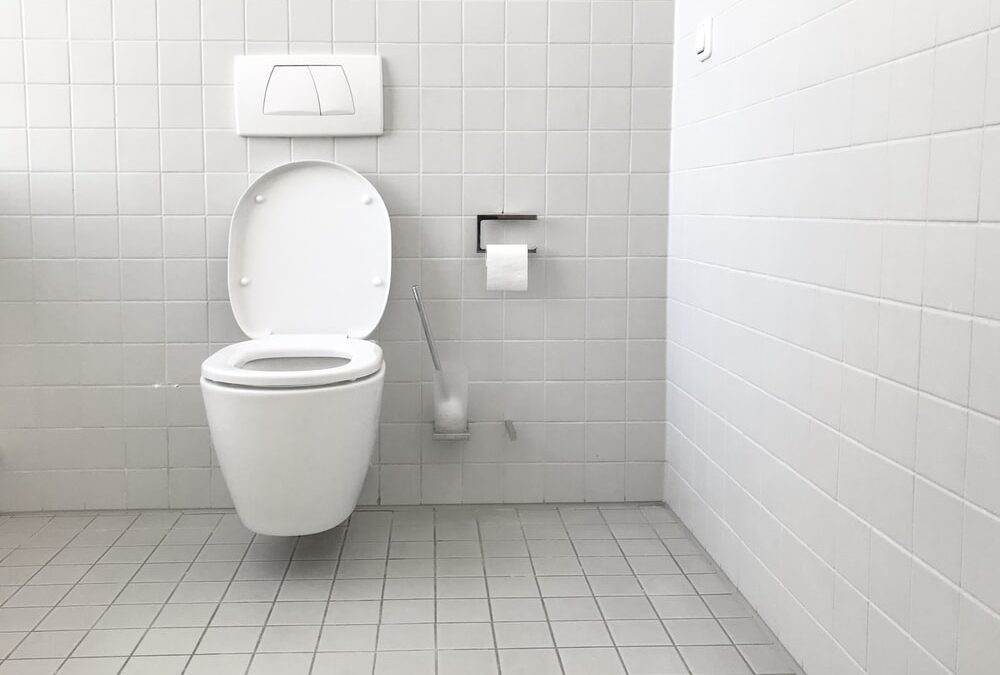
Most of the people find one-piece toilet installation daunting. It is not something that you have to tackle most often. When you find DIY techniques to install your one-piece toilet, you don’t need to worry much about it. The good thing is you could easily do this task even without taking help from a professional. Nowadays almost all toilets come along easy installation on the manufacturers so that it would not be a challenging job for you.
Why should you choose this type of toilet?
One-piece toilets are attractive to look at and many people like this modern aesthetic of the toilets. Moreover, there are few nooks and crevices in one-piece toilets which is the center for dirt. As they are easier to clean, most people prefer such toilets.
One-piece toilets are more sturdy than their two-piece counterparts. There is not any risk of hinge breaking whenever a heavy person sits on it. you don’t have to worry about anything and you could sit down and lean back comfortably.
Installing a one-piece toilet – Step by step
The steps of installing a one-piece toilet are-
Step 1: removing the old toilet:
Of course, you could not start the process if you already have your old toilet installed. Remove it carefully and if you want to use the previous flooring, ensure that you could protect it while removing your old toilet. After removing, you have to clean any excess water or spills on the ground.
Step 2: removing wax ring:
If you don’t remove the old wax ring, there is a possibility that the toilet will leak. You should replace it with a new wax ring. Remove the old wax ring by using a rubbing or scraping tool and rub as much as you can.
Step 3: checking for slots of your new toilet bolts:
The bolts of your new toilet would not be set if there are no slots for it. if you don’t find any slots, make holes to the ground just beside the flange of the toilet and use a drill machine for this task. This would hold your toilet down. Removing any extra material is important because it may get in the wax ring.
Step 4: Installing a new wax ring:
Sometimes the floor isn’t even with a toilet flange. In such cases, you could get a thick wax ring. Ask someone to hold your toilet because you have to access the lowest part of your toilet. Stick your new wax ring there after removing it from its packet and ensure that you have set it on the center of the drain hole. If you find the fit wrong, simply rotate the ring till you feel that it is rightly fitted.
Step 5: laying down the new toilet:
You have to get someone for help. Most of these toilets are not so light that you could manage it alone. Thus it is better to ask for someone’s help. Ensure that you line up the holes according to the bolts of the new toilet. Bolt down the toilet with washer and nuts. Skirt designs of these toilets make it hard to see underneath. You may find toilets that have access for the bolts on their side. They’re concealed through a tiny rectangle door, remove it and you would be capable of reaching out the bolts and nuts easily.
Step 6: installing the flush:
There are dual-flush mechanisms on a one-piece toilet that offer to select between a half flush and full flush. If your toilet has a dual-flush mechanism, attach the plastic tubes to the tank lid. Usually, this comes in blue and black colors.
Step 7: Installing your toilet seat:
Some one-piece toilets do not include a seat in it and you should check this before buying. If there is no toilet seat, you have to purchase one which could fit your toilet. You would find plastic screws with toilet seats and you have to put them in the right place. Insert black-colored liner on the hinge of the toilet seat and then insert this hinge’s stalk to the right hole of your toilet seat.
After all of these steps, installation of a one-piece toilet is completed. You could use your toilet from the moment you finish these steps.
