
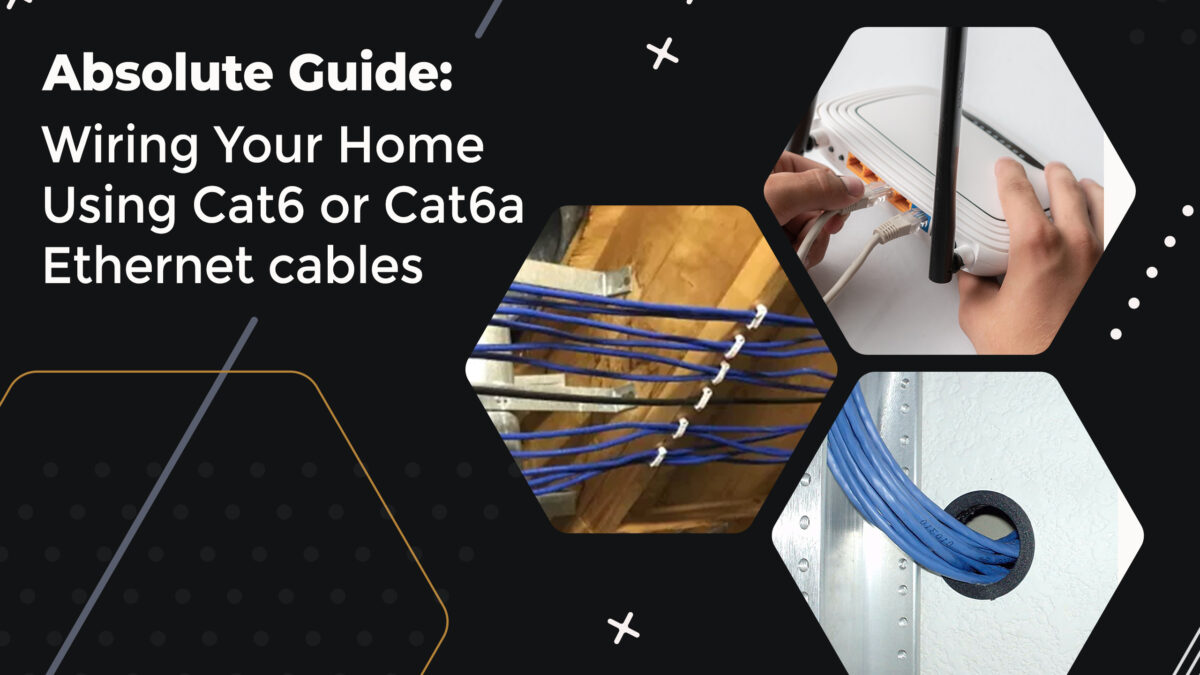
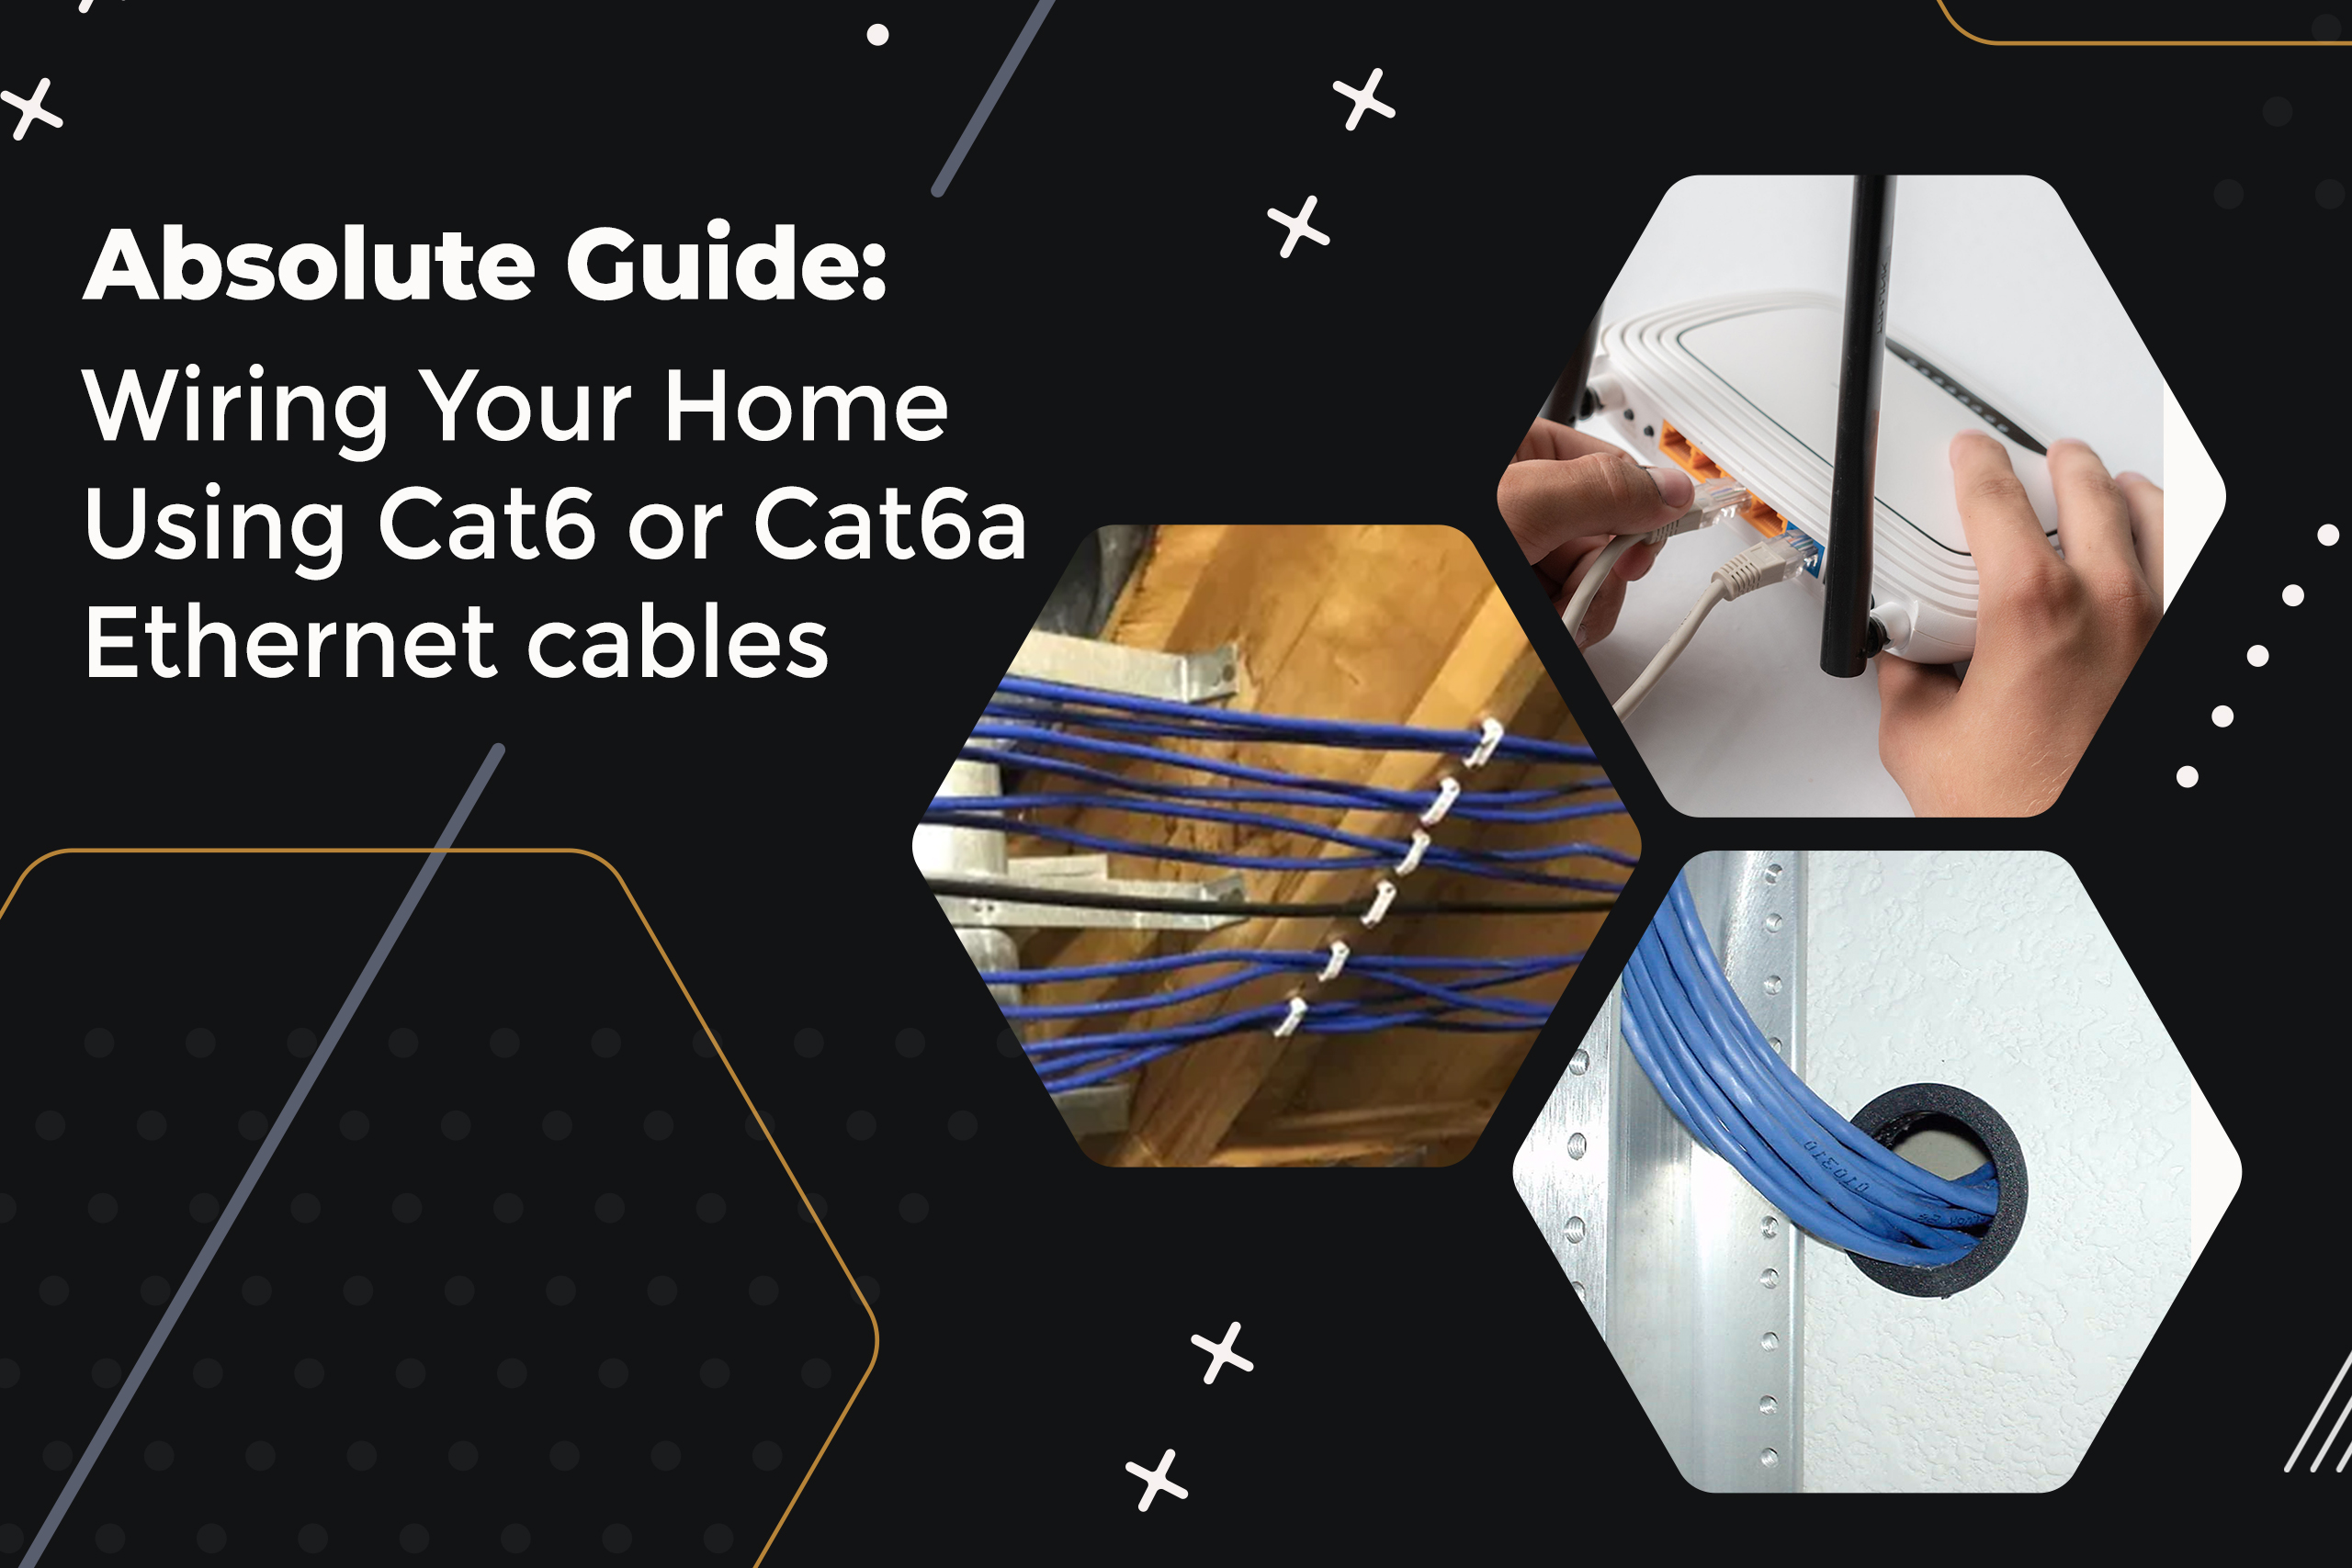
Against the backdrop of this paranoia surrounding wireless security, having a wired network for your home network allows you access to high-speed internet, media streaming, IP security cameras, online gaming, reliable and stable connection, among several other advantages. In this article, you will learn how to wire your home using Cat6 Cable 1000ft Plenum.
Step 1: The Planning Phase
The planning phase is very important. First, you need to sort out how many rooms and which areas you want to wire. Then, you need to sort out the number of ports you want in every location and what is the best location for distribution. You should also take into account the path that cables will follow.
Step 2: Gather Tools & Materials
You will need the following tools and materials:
Ethernet Crimping Tool, Drill & Punchdown Tool (optional)
- 1000′ spool Cat6
- Single Gang Retrofit Boxes
- RJ45 Jacks and plates
- RJ45 plugs (optional)
- Plastic grommet (optional, makes the cabling look professional)
- Patch panel (optional, another professional touch)
Step 3: Mount the Wall Plates
Decide the place where you will mount the box, draw lines, and cut the hole with the pointed hand saw. Put a single gang box in holes and then screw the clamps withhold it in place by clamping to the back of the drywall. Repeat this action for each location that you want to run to.
Step 4: Measure & Run Cables
Measure the lengths of your Cat6 Cable 1000ft Plenum and drill through the wall top plates – you will need a powerful drill for this purpose. While measuring the lengths, you have to ensure that your Cat6a Cable 1000ft Plenum is long enough that you are left with some extra space for crimping and stripping purposes.
Step 5: Making Connections
After running the ethernet cables, punch them down to the patch panels and jacks. The easiest way to do this is to take the raw cable out of the wall, put it into an RJ-45 connector, and plug it into the switch. But for longevity and permanent installation purposes, use a patch panel.
The two wiring standards are T568A and T568B. You will use the same wiring standard on both ends. For punching down the individual wires, use either a punch-down tool or a small screwdriver. After connecting all the ethernet cables, you will mount a patch panel to the wall.
Step 6: Test Your Connections:
To ensure that you have done everything correctly, test all the connections. For this purpose, using a network tester remains an ideal choice. If the network tester okays the connections, it means you are all good to go.
Among Cat6 Cable 1000ft Plenum and Cat6a Cable 1000ft Plenum, the former remains an ideal choice for home installations as the latter is a bit on the expensive side. Though Cat6a ethernet cable demonstrates a data transfer rate of 10Gbps over a distance of 100 meters, Cat6 also does the same but over a length of up to 50 meters.
