
When you’re considering renovating your home, oftentimes you consider to DIY. Especially when it’s just simple plastering work. While DIY is an affordable option, there are things that you should leave up to the professionals. In this post, we will talk about the different drywall installation tasks, which tasks you can DIY and which tasks you should hire a professional plasterer for.
Tools and equipment
When doing a DIY drywall installation, you will need to have the following tools and safety equipment ready.
- Safety goggles
- Safety gloves
- Utility knife
- Measuring tape
- Straight edge or T-square
- Drywall and keyhole saw
- Drywall rasp
- Sanding block
- Power drill
You may already have these tools available around your house. But if you are to purchase them all, they may cost around $200 – $300 in total. While plasterers have their tools and equipment ready when they come to your property to do the job.
Cutting the drywall
When cutting the drywall, you simply have to score them and carefully apply force to break them apart. However, you would also need to drill holes for the outlets and light switches which can be a tricky job.
The measurements should be just right to avoid redoing the job or wasting drywalls. If you cut them too small you end up taking down the drywall and re-cutting it. If the cut is too big, you may need to tape a piece to fix it or start over with another drywall.
Professional plasterers, such as the team at plasterer Geelong, have practical techniques to easily get the measurements accurately. For example, scraping the edge of the outlet boxes using a piece of drywall. Then they lay the drywall up the frames and push or pound the area where the outlet is. The white impression would be left at the back of the drywall which will serve as your guide for cutting the outlet hole using a drywall saw.
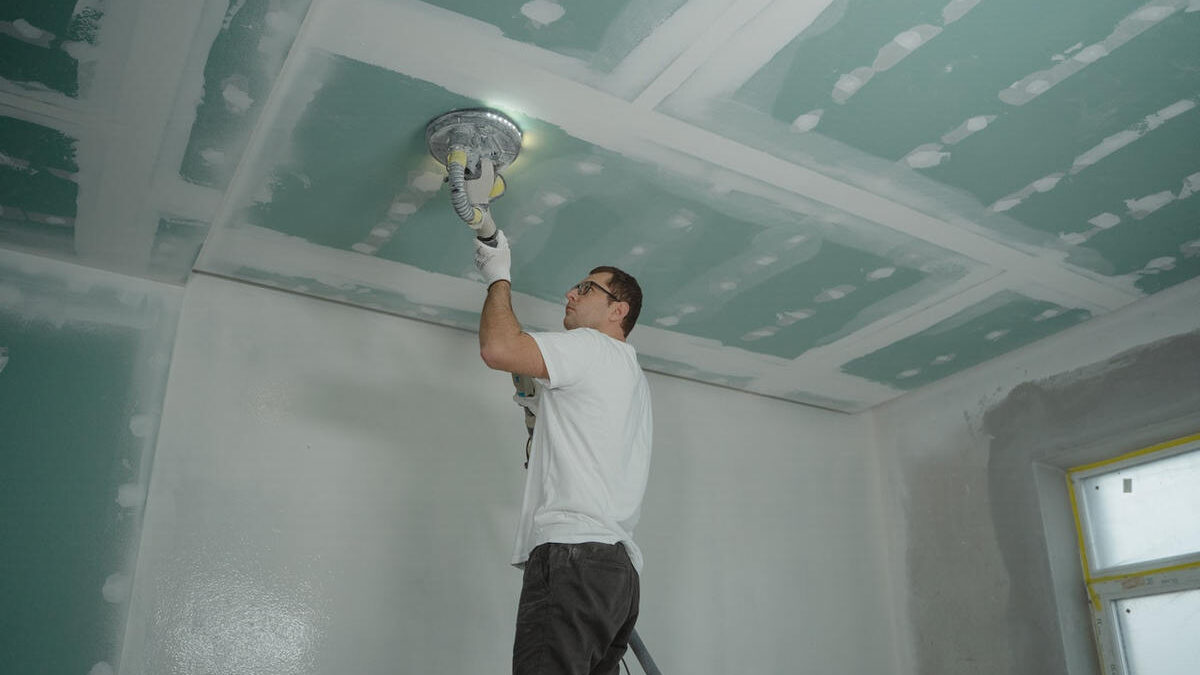
Drilling holes when the drywall is upright can be an easy job however it can be a little challenging and tiresome when making holes for the lights on the ceiling. You would need to measure and cut round holes for the recessed light which may require some skill.
Installing drywalls
A competent DIYer can probably install drywalls in a small room. But big jobs and multi-room installations are best done by professionals. Aside from finishing the job faster, professionals will only purchase the right quantity of drywalls thus saving money on materials.
If there are several rooms to do the drywall installations, they will properly plan this out and schedule each room to avoid too much disruption. Cleaning up will also be done regularly to avoid surroundings that are too messy and accident-prone.
Skimming and sanding
After the installation, apply a thin coat of plaster and sand it smoothly in preparation for the painting job. This includes mudding the joints, covering the nail or screw holes, spaces around the fixture holes, etc.
Smoothening the drywall surfaces require skill and a lot of patience. You need to use the right grit of sandpaper to get rid of deep grooves then a finer grit of sandpaper for the finishing. It is best to do feathering from the mud edges going to the centre. Focus the light on your walls to inspect any uneven surface and smoothen the area again.
Conclusion
When considering doing DIY drywall installation, it’s best to think about it carefully. There are times when it is better to hire a professional especially when you’re increasing the value of your home or you simply don’t have time in your hands to do the job. Also, you are guaranteed the quality of the work done to your house.
