
Netgear Inc is one of the biggest fish delivering high-quality networking products for the last two decades. It has introduced routers, & extenders embedded with the latest networking technology. The products it offers are promising enough that everyone knows the brand Netgear, a brand that offers internet products.
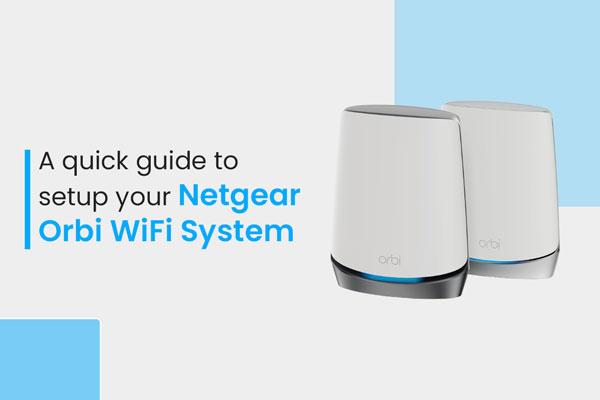
One of its really promising products is the Orbi WiFi system, which contains a router & satellite(s). The router acts as the main unit, while the satellite acts as its extenders. The Orbi WiFi system creates a mesh network, consisting of both 2.4Ghz & 5Ghz. So, that your device can stay connected to the internet, no matter where you’re at your place.
Easy steps to set up your Orbi WiFi system
The Orbi WiFi system is darn amazing to work with, as it offers mind-blowing internet connectivity with no compromises. And the most amazing part is to set it up with your internet modem. Few Orbi products are modem + router, but here we’ll talk about routers & satellite units. So, follow these steps to set up your Orbi WiFi system with your modem:
- First, turn off your existing router & replace it with your brand new Orbi router.
- Turn off your Modem & connect the Orbi router to your Modem’s internet LAN port, using an Ethernet cable.
- Place your satellite(s) in the same room for the initial setup. After the setup is finished you can move your satellite(s) to any place you want.
- Power on your Modem followed by your Orbi router & satellite(s).
- Connect your laptop or smartphone to the Orbi router’s WiFi name or SSID. The WiFi network information is printed on your Orbi router’s product label, along with its WiFi security key. Use that information & connect to the router’s network.
- Once connected, open up any of your internet web browsers. Type http://wwworbilogin.com or http://www.orbilogin.net in the URL address bar & hit the Enter key on the keyboard.
- You’ll be redirected to the Netgear Orbi setup page, which will be asking you to download & use the Orbi App. But there’s an option to skip this message, & continue with the online Orbi setup, so click on that option.
- Agree to the terms & conditions, & click the Next
- Your Orbi router will start looking for incoming internet connections from your internet modem. Once detected, you’ll be able to click the Next button, so click it.
- Then you’ll be asked to create your Orbi admin account password & set up account recovery questions. So, set them up properly. Remember your password, account recovery/security questions & their answers.
- Then you’ll be prompted to add your satellite(s), select the satellite(s) that you own & click the Next
- On the next screen, your Orbi WiFi system will look for the latest firmware updates & try to download them by itself. You can skip it if you want or wait until it finishes updating the firmware. Once done, click the Next
- Now, you’ll be asked to configure your Orbi WiFi network settings. There you can change the Orbi WiFi name or SSID along with its WiFi security password. If you want to change good, if not then you can leave it as it is. The default SSID & password is printed on the router’s product label. Click the Next
- Your Orbi WiFi system will start applying the settings. Once done, you’ll see the Orbi WiFi system information on your screen, click the Continue button at the bottom.
- In the end, you’ll be asked to create or sign up for a Netgear account to register your Orbi product. So, either create a new account or log into your existing account.
- After registering your product with Netgear, you’ll see a confirmation message about the successful setup of your Orbi WiFi system.
So, this is how you can easily set up your Orbi WiFi system in place of your existing router or with your internet modem. In case, you find any trouble following through with this guide. Leave your questions in the comments section, our team will reach out shortly.
