
Vectorizing an image means converting the digital image from pixels to a format called a vector. This format allows for better customization and scaling without deteriorating the image quality. It also makes pages load faster and takes up less server space. In addition, it helps reduce image size, making pages more responsive.
Redraw

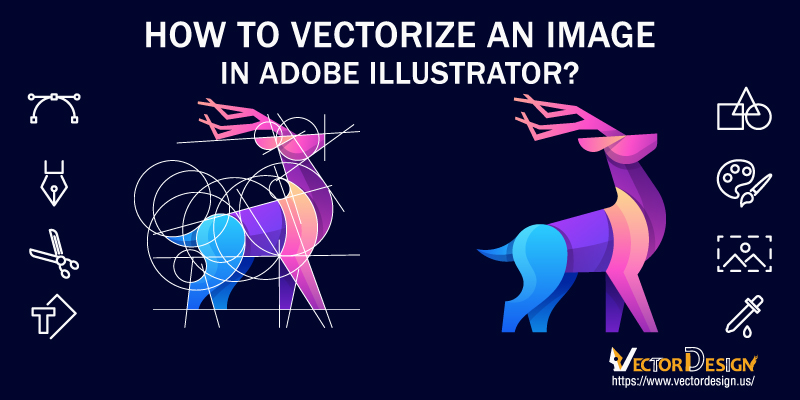
If you’ve ever wondered how to redraw an image when converted to a vector format, you have come to the right place. Essentially, you can convert a raster image into a high-quality vector graphic by using Redraw. Raster images are made up of tiny pixels that become more noticeable when enlarged, whereas vectors are made of mathematical paths that retain their clarity regardless of size.
For a graphic designer, having crisp, clear image files is essential. Once a file has been converted to vector format, the graphic designer can easily use it in the design process. Sometimes, a client will ask for the designer to incorporate their own files into a project. However, the files may not be completely compatible with the new design, so they’ll need to be converted into a vector format.
Image Trace
In the Image Trace panel, you can fine-tune the image you wish to convert to a vector. Drag the color slider to the left or right to simplify or add detail. You can then save the changes. If you are unable to decide which options to choose, you can always open the Advanced Options panel.
Image Trace is a tool in Adobe Illustrator that turns raster images into editable vectors. This tool is available from the Panels menu. It displays the various tracing presets, styles, and options. It also displays the progress of the conversion. Once the conversion has finished, you will see the resulting vectors. However, these are not editable immediately.
Pin tool
There are several ways to convert an image to a vector, including using the built-in tracing tool in Illustrator. While this method is effective, it can be problematic if the image is not high-quality. A better method is to use a tool called the pin tool, which makes the tracing process more precise and makes it possible to edit each point of the image.
Another way to convert an image to a vector is to use the Image Trace tool, which comes with various presets. Each preset will result in slightly different results. For example, High Fidelity Photo will yield a very detailed vector image, while Low Fidelity Photo will produce a less detailed image. This option is useful if you’re converting a photo, rather than a complex piece of artwork. You can also choose between three, six, or 16 colors for the output.
Inkscape
If you are looking to convert an image to a vector, Inkscape can help you. It is free to download and is open source, which means you can modify it to suit your needs. Inkscape is ideal for simple artwork conversions, but may not be suited for more complex ones.
First, you must import the image into Inkscape. It is best to use high-contrast images. You can find these online or by taking digital photographs. Once you’ve loaded the image, use the Selector tool to select it. Make sure the grays option is checked, and check the box next to the Remove Background.
CorelDRAW
To convert an image to a vector, you can use the popular Vector Graphics Program, CorelDRAW. First, import your image into a New File. Then, select Image > Trace Bitmap. Next, use the Quick Trace option to trace the bitmap. Finally, save the file as a CDR or EPS file. You can also export your finished vector file as an EPS file.
If you have a raster image, you can use the PowerTRACE tool in CorelDRAW to convert it to a vector. However, to get the best results, you should use a TIFF or BMP file format with lossless compression. Once you have chosen the proper file format, simply import the image and choose the appropriate next option.
Conclusion:
There are many free and popular programs that you can use to convert images into vectors. The following three programs are particularly good for simple image conversions, but may not be suitable for more complex artwork.
