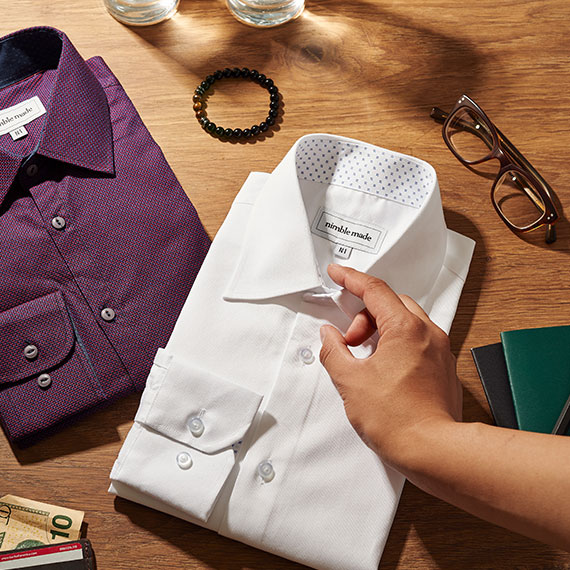
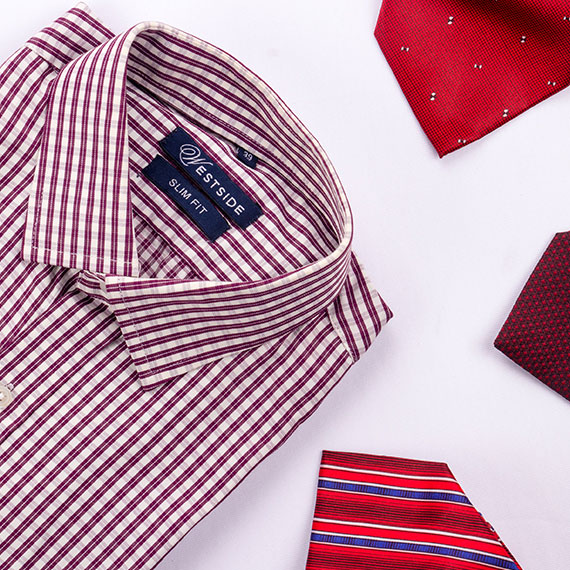
Woven labels are manufactured with different types of backing like Velcro backing, adhesive backing, sewn-on, and iron-on backing. The iron-on backing is one of the woven labels’ most accessible backing techniques.It is up to the customer to choose the type of backing. If you have selected iron-on woven labels and wonder how to attach the woven label to the desired place on the clothing with an iron, do not worry. We will discuss different techniques to help you do the whole process efficiently and smoothly.

The Tips For Applying Iron-On Woven Labels
Tagless heat transfer labels are an advanced type of printed label that comes in all materials. Iron-on labels are a great way to rapidly and attractively attach a brand name to your end products, whether they are bags, clothes, or some other item. You can also get printed ribbon for your brand to alleviate the whole look.
Unlike the stitch-on backing labels, iron-on labels can be attached after the product has finished manufacturing. Nowadays, the market is full of different types of labels and backing that you have many options to choose from. And if you have selected iron-on backing, proper attaching is very important, and that is what we will discuss.
High-Quality Labels
It will be best to use top-quality labels because they are easy to apply and durable. You can choose between dryable and washable machine options. Quality labels allow a lot of customizing features, and you can also add care information.
First, Try It On A Piece Of Fabric
Iron-on woven labels are effortless to apply, but they are not suitable for all materials or fabrics. To make sure that the label is convenient first iron it on a piece of cloth. Keep in mind to iron on the label from the side.

Choose A Suitable Location
It is usual for an iron-on label to stiffen even if you apply them correctly, so you should decide beforehand where to place your iron-on woven label on the garment. It will be better if you don’t place the labels near the seam lines.
Use High Heat Iron
All the iron don’t operate at the same temperature, so it will be best to experiment with the heat of the iron before attaching the label. First, try to put a label on the cotton material. If the label does not stick, increase the temperature until it adheres.
Use Baking Paper For Protection
While attaching the label with an iron-on, an iron board carefully places the apparel and the label and coven them with the baking paper to protect them before ironing. This will ensure an even transfer of heat and a non-stick and smooth surface upon the label.
Use Dry Heat
Dry heat is the best way to adhere the label to the desired place with iron-on woven labels. Steam can create issues like moisture, compressing, and shrinking the label.

Move The Iron In Slow Circles
When you start to iron the label, place the iron on the label without moving it for up to twenty seconds. This will ensure that the adhesive is warm enough to stick to the labels. Move
the iron in slow circles along the sides of the label and apply slight pressure.
Allow It To Cool
Allow the label to cool for two minutes after ironing for the glue to set.
Test The Edges Of The Label
After attaching the label, remove the baking paper and check the edges if they are correctly connected. If not, iron it again.
Wait For A Day Before Washing
Iron-on labels allow you to machine wash them even in hot or cold water. It will be best to wait for 24 hours before washing them to ensure that the label is completely set.


