

How to use a Wi-Fi secured Canon mg2922 setup to connect a Windows machine to a wireless network. Before you begin, make sure your printer is switched on and connected. There will be a light-up button in front of it. Press and hold the Wi-Fi button while the printer is powered on until the amber alert light flashes.
As soon as the Wi-Fi button begins to flash, let go of your grasp on it. After that, make sure the power and Wi-Fi lights are on and rapidly flashing. Press and hold the WPS button on your wireless network or access point while the Wi-Fi light is flashing. Depending on your router, you could see a button similar to this one. You have two minutes to complete this step starting when the Wi-Fi light starts to flash. The printer and wireless router are linked once the Wi-Fi light stabilises and stops flashing.
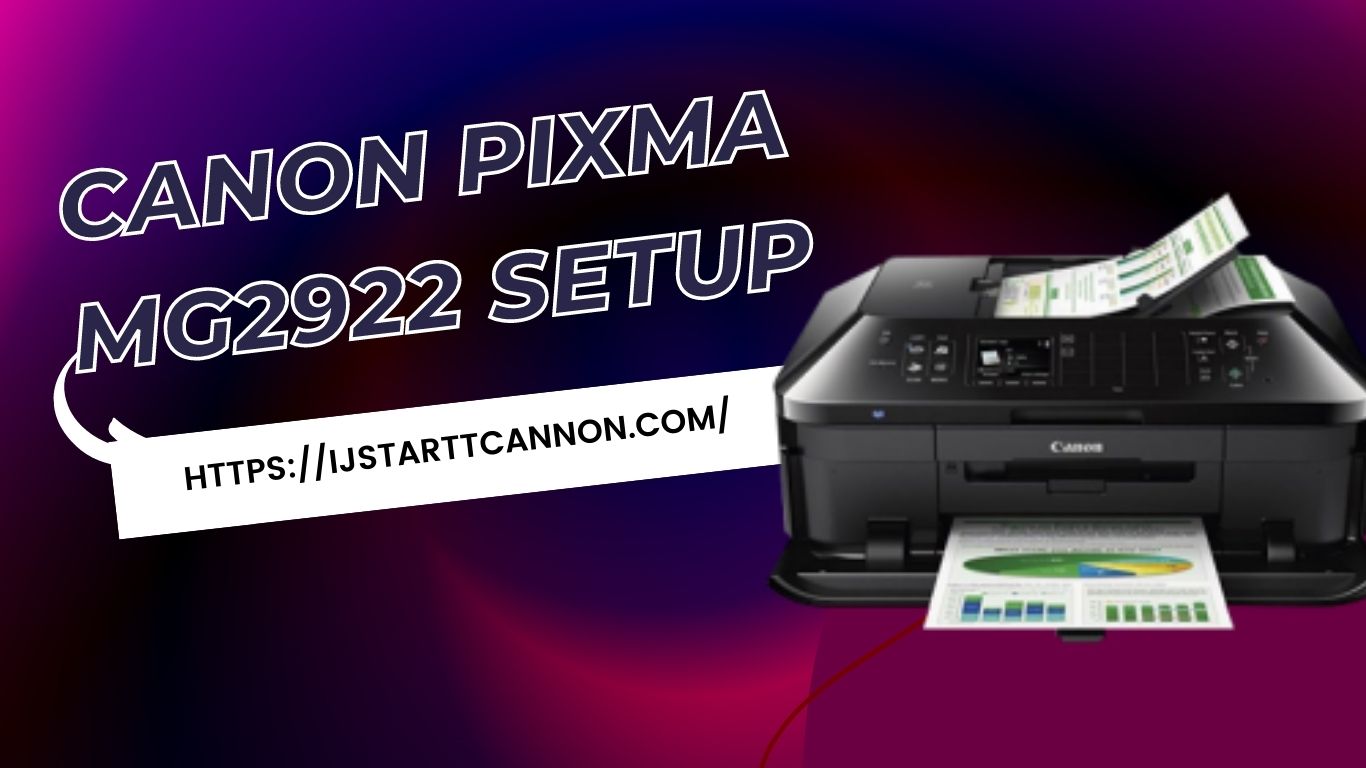
Setup and installing a wifi Pixma MG2922 from Canon
Insert the CD ROM that comes with Canon Pixma mg2922 Troubleshooting after turning on your computer to set up your printer and install drivers. Visit the Canon website to get the installation files. To download the printer’s software and set up WiFi on the Canon Mg 2922, click on these links.
Open the downloaded file on your computer, then follow the prompts on the welcome page to get started. Click Next to pick access point connection after selecting wireless land connection as your connection type. The application will check to see if your printer is already on and connected to the network when you click Next. The list ought to be empty if this is your first time installing the printer. No checkbox existed that let you choose a printer from a list. If the printer is already listed, click Next. After choosing Next on the next two windows, the wireless printer installation will start. You might see this or this on your screen after pressing the WPS button. To locate your printer on the network, click Next. When you see the popup stating that the connection was successful, choose your printer and click Next. The License Agreement screen may be viewed by selecting a piece of software from the list that displays. To proceed with the installation, choose yes. Now, pressing Next will finish the programme installation.
How to setup a wireless network on a Canon Mg2922 printer
The technical manual for the Canon Mg2922 may take some time to download. When the dialogue box saying that the Canon mg2922 setup is complete appears, click Next. The screen for printhead alignment occurs after selecting complete. Select the screen’s execute button. Start the alignment of the printhead. You must adhere to all directions displayed on the screen. When the printhead alignment is complete, click Next to close the programme.
Create a printer You will be asked to register your product at this point. Once registration is complete, a new window will open if you want to register right now. Installing the new survey application is now necessary. If you choose not participate, the extended survey programme won’t be launched right away. Open the test print window by inserting some plain paper in the printer, then choose “Agree” to print a test page. After printing a test page, click execute. By selecting next, you may also skip the test printing. Click Exit to complete the installation when you see this screen. The Canon Pixma mg 2922 may now be completely configured to a wireless network and used to print or scan when WPS has been enabled.
References: Canon Pixma mg2922 Setup
