
Distinctive editing processes and effects are the main distinctions between Luminar and Lightroom. Luminar offers a quick editing experience while Lightroom needs substantial knowledge of photographic elements to make the photo canvas look professionally done.
Using Luminar Vs. Lightroom
Lightroom’s presets and powerful photo filters come with perfect blends of colors and lighting that wouldn’t need editing and modification. Lightroom is able to detect areas of the photo canvas that needs to be lit and brightened up but match with all other photo areas making it one perfect photograph. In any way, Lightroom gives the users freedom to adjust the settings and blending of different photographic elements. Meanwhile, Lightroom is more compared to the ability ofLuminar in editing photos such as its setting, colors, and touch-up settings. Luminar has a one-click artificial intelligence feature that automatically retouches the photo canvas by itself. Professional photographers can benefit from this feature as it is quick and considerably has a simpler UI than Lightroom.
Features of Adobe Lightroom
Editing images and photo canvas in Lightroom takes knowledge in technicalities which amateurs and people who are not inclined to any of the similar tools alike. Doing Photo Retouching Services through this application, you may edit images through the filtering presets with the basic editing options and tools such as:
Batch Processing
Transitions and Animations
Customizable Templates
Rasterization
Layerings
Templates
Gradient
Clarity tool
Sharpness
Vignetting
HSL Sliders
Texture adjustment tools
Tinting options
and many others
Furthermore, editing on Lightroom’s interface is much more confusing for amateur photographers and editors because of its professional and technically looking displays. Lightroom editing features come in different effects when blended with other effects. Furthermore, there are steps that you need to focus on and follow when using the Lightroom preset settings. These essential steps include:
Preparing the photos (Crop, Cut, mirror, etc.)
Edit the image canvas (Exposure, Contrasts, Highlight, Shadows)
Edit colors
Then, you can define textures, add filters, gradients, and all other relevant tools needed to come up with the desired image such as vignetting, gradients, paints, layering, etc.
Features of Luminar
Photographers and complete beginners of every skill level may use Luminar. Non-photographers are surely able to understand the setting options of this application as the options come in common terms which are clearly identifiable by amateurs. Using Luminar is like using a gaming interface for your photo retouching interfaces.
With Luminor’s Photo retouching options, you can take any editing steps without affecting the previous affects you have set for the image unlike what happens with Lightroom’s Automotive retouching capabilities. The tools in Luminar are categorized, so you don’t need to assess if you need all the other settings in one category to give more effects to the image. Luminar is mostly used for editing outdoor shots and broader image scopes. The tools include:
Sunrays tool
AI Augmented Sky Tool
Dramatic Tool
Matte Look tool
Mystical Tool
Texture Overlay Tool
Film Grain Tool
Color Styles and Palettes
Fog Tool
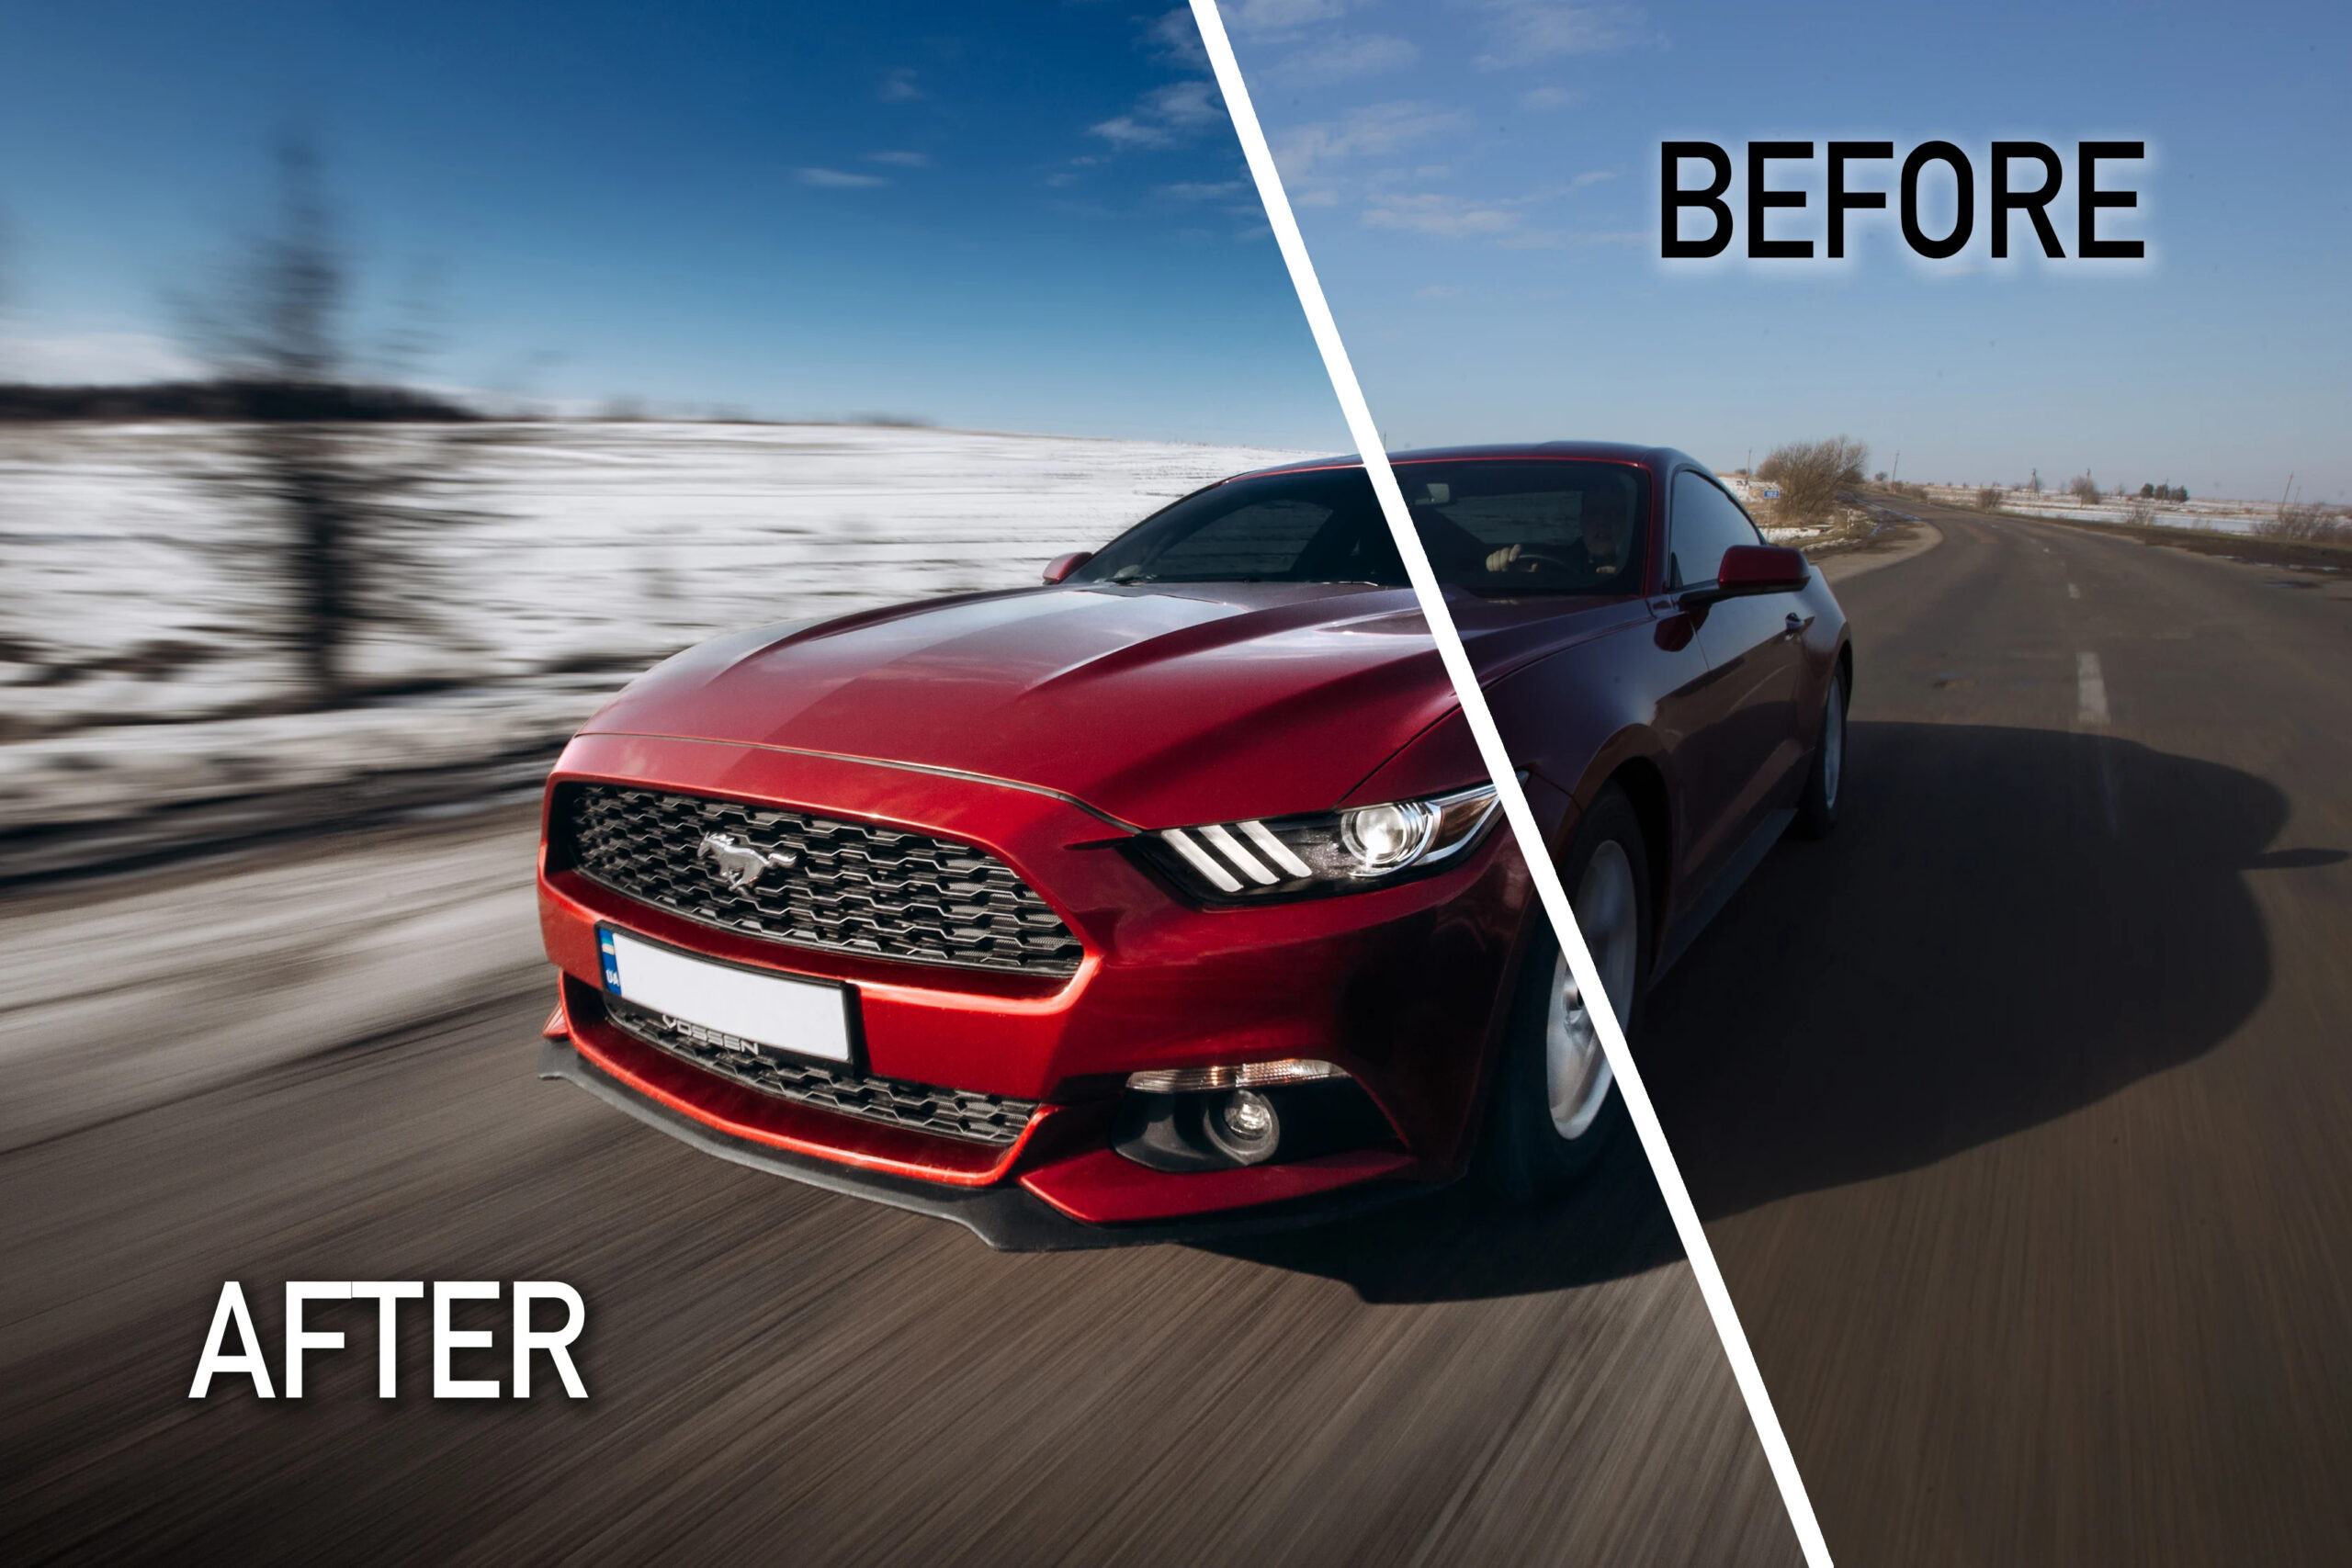
Editing Outcomes
Luminar’s automotive retouching services effects would seem clear that is made from a software or application than looking like it was captured by a camera. In this application’s Automotive Retouching Services, the effects are overlayed. Lightroom’s photo retouching services result in completely holistic results as the effects are completely embedded in the shot looking like it is the original photo captured from the camera itself.
Source Link: https://digi5studio.medium.com/luminar-or-lightroom-which-suits-best-for-you-and-your-needs-5dcfad79f57f
