

You must have heard many times about incubators in your lifetime as it is used in many day-to-day activities like in poultry farms and in taking care of the premature babies or sick infants in hospitals. But, another major purpose of incubators which has been in use and emerged recently is cultivation and manipulation of microorganisms for medical treatment and research and this is done in a laboratory incubator.
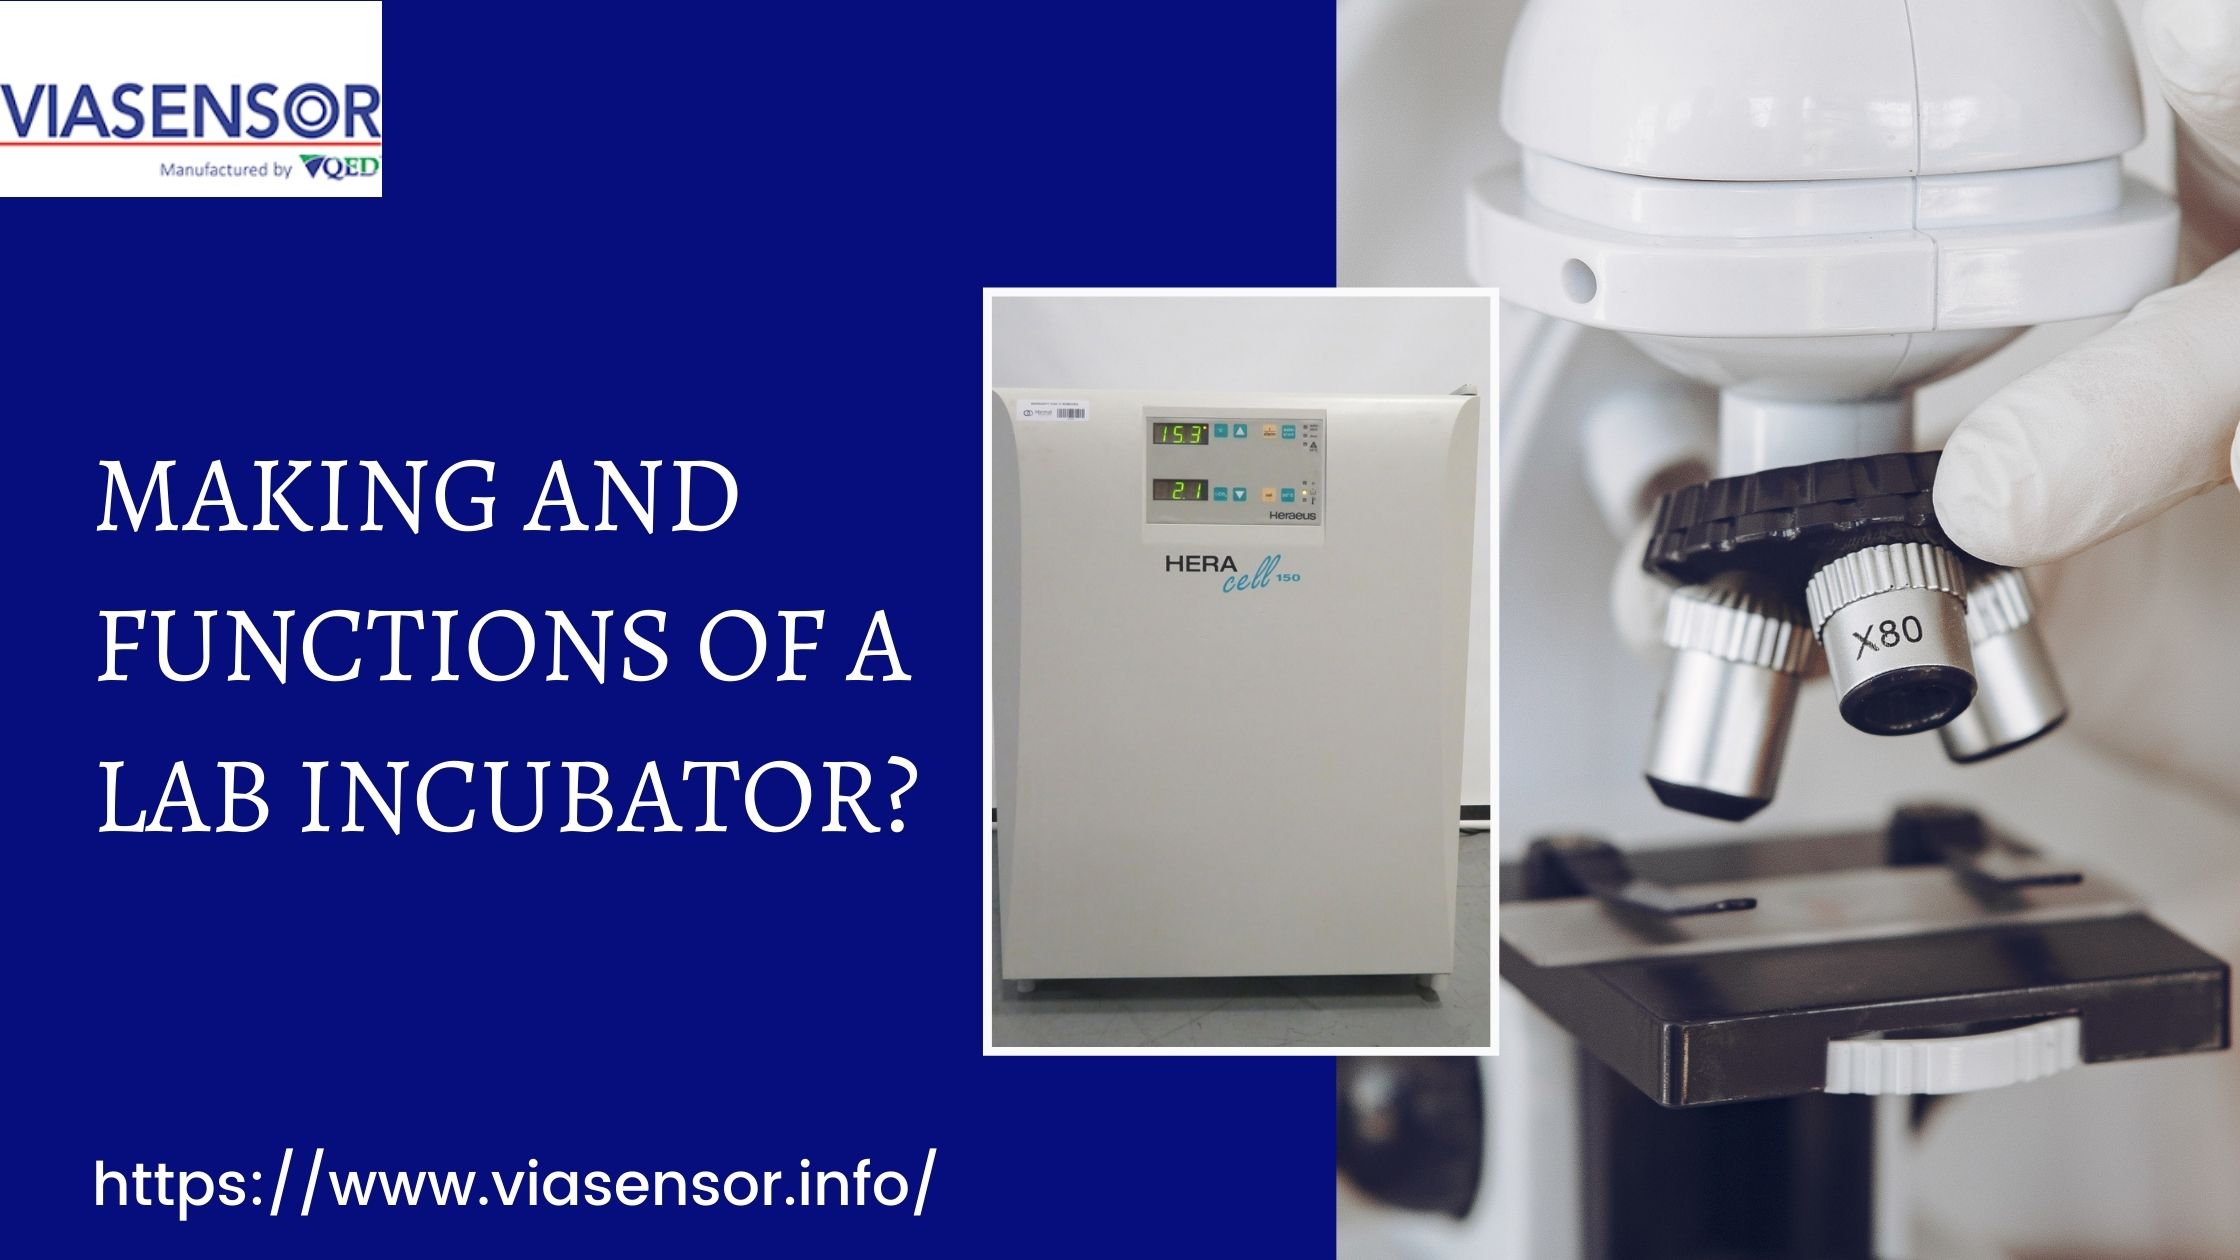
What is a lab incubator?
A transparent chamber with the apparatus that controls its temperature, humidity, and ventilation make up an incubator. In many labs, an incubator is a necessary piece of equipment. Growing microbial cultures or assessing the stability of items under diverse circumstances are two common applications of a lab incubator. The best choice is generally professional-grade equipment, which provides temperature precision and consistency. In addition, some incubators have additional functions like cooling, CO2, humidity, or shaking, which are necessary for particular applications. A lab incubator, in simpler words, is nothing more than a box that holds and maintains temperature and are also used as a Incubator CO2 Analyzer.
How can you make a lab incubator?
There is always a possibility that either because of the high cost of a lab incubator you may not be able to afford it and it is also a possibility that you might not always want all the features of a professional lab incubator so for your general usage, you can always create a lab incubator yourself and use it the way you want and that too at an affordable cost. Below are the steps by which you can make a lab incubator all by yourself.
-
Amino Labs
Making a small chamber consisting of two inverted plastic containers is a very easy and affordable way to build an incubator. One container is larger than the other, and the bigger one is piled on top of the smaller one. When both containers are inverted, a rectangular hole cut in the bottom allows heat from the source to enter (a lamp).
The heat enters the chamber through holes in the smaller container, which rests atop the petri dish. A thermometer can be inserted through a tiny hole at the top of the chamber. To shield the agar and bacteria from the heat of the light, aluminium reflective tape is applied to the exterior of the chamber. While this is a quick, easy, and inexpensive solution, it does have some drawbacks.
-
Making incubator with readily available materials
Bio-Design for the Real World is a research initiative that comprises the creation, testing, and evaluation of prototypes that tackle biological and biotechnological challenges. Bio-Design held a workshop to develop a low-cost incubator made of easily accessible and available materials. The development of cell or bacteria cultures, as well as the manufacture of fermented foods, are among the intended purposes.
The design is more complex than some of the others on this list; the authors outsourced the fabrication of a circuit board, which is beyond the capabilities of many would-be DIYers. However, it was reasonably priced and may be beneficial if you want precise temperature control.
-
Highly accurate incubator
It is heated with a Styrofoam box, a temperature sensor, and a light bulb. It modulates the amount of electricity provided to the bulb instead of turning it on and off to manage the temperature. The bulb must release more heat during heating than is lost via the walls. The bulb only needs to compensate for heat loss after the incubator reaches the optimum temperature.
The temperature was regulated by altering the bulb’s AC input using a custom-built AC dimmer. However, because this can be harmful, it is not suggested unless you have prior electrical knowledge. The good appearance of this incubator is another great feature. To give the Styrofoam box a professional appearance, the developers fashioned a hardwood casing for it.
-
Incubator made with an aquarium
Instead of a styrofoam box, this solution utilises an aquarium and makes this incubator may be more expensive than other DIY options unless you have an old aquarium hanging around.
It is, however, quick and easy because very little setup is required. The heat source is a lamp with a dimmer switch purchased from a pet store, and a thermometer is placed inside the aquarium in a visible location. Heavy plastic is used to cover the aquarium’s aperture, which is kept in place using duct tape. If you have an old aquarium at your house, you can utilise it to make one of the cheapest incubators ever.
-
Pelling Lab Incubator
Andrew Pelling of Pelling Lab revealed his invention for an incubator that keeps CO2 levels at 5%. He spent roughly $350 on supplies, with a CO2 sensor costing around $230 taking up the largest portion of the total cash involved. This makes it one of the costliest lab incubators and it is up to your budget if you can afford it or not. The major components of this incubator are
- Styrofoam box lined with an insulating material
- 12V DC fan to move air around
- Flexible heaters
- Heatsinks which doubled as shelving mounts
- Scrap metal shelving
- 1-wire DS18B20 digital temperature sensors
- CO2 sensor
- CO2 source
-
Sleek and stylish incubator
The Thought Emporium’s design is a little more costly, but perhaps more stylish, alternative to the styrofoam box and light bulb option. It includes a cooler, a reptile heating pad, and a controller for the heating pad. The incubator cost a total of $80 to construct. Although a plastic cooler provides a more durable and attractive incubator, drilling holes in styrofoam is easier than in plastic. You won’t have to bother about drilling if you discover a cooler with a drain hole.
-
Simpler lab incubator
The preparation for these incubator’s instructions is similar to the styrofoam box models above. It is, however, less complex in that it lacks a temperature control mechanism. Instead, the designers suggest keeping an eye on the temperature and cutting extra holes in the box if it becomes too hot. While this is only basic temperature control, it may be a viable option if you don’t want to deal with other electrical components.
