
For a newbie, black vinyl tiles peel and stick tiling is a cost-effective and simple DIY project. How to cut & install peel-and-stick tile on a wall!
A LARGE WALL, to be sure! I covered practically the whole back wall of my garage with peel and stick tiling. Isn’t it cool?
I fully altered the wall at a very little cost, provided a burst of color and texture, and it is now waterproof. There’s no need to be concerned about grout… Simply cut the tile, set it in place, and enjoy.
Benefits of Peel and Stick Tile
When I first started looking at peel and stick tile, I was astounded by the number of possibilities available. Plus, it’s simple to put together, requiring no special equipment, glue, or grout. That’s a good contrast to ceramic tile installation, which requires a lot more skill!
WHAT TO LOVE ABOUT PEEL AND STICK TILE
- Lightweight and simple to use.
- Simple tools make it simple to measure and cut.
- Pre-applied and strong adhesive for a wide range of surface applications.
- Water, heat, moisture, & humidity resistant.
- There are plenty of design alternatives for a bathroom, kitchen, laundry room, hobby area, or even a garage!
Before I get into how to apply the tiles, I’m sure you’d like to see how they appear. I spend a lot of time in my garage since it’s where I keep all of my home improvements. Plus, since I spend a lot of time on my blog painting things, I needed a cleanable surface behind the utilitarian sink.
How to Install Peel and Stick Tile
This guide will show you how to install peel-and-stick tile on drywall. The adhesive, on the other hand, is so powerful that it may be used on a variety of surfaces. You might be asking if you can install peel & stick tile over ceramic tile that already exists.
Yes, especially over a smooth surface, but any grout lines bigger than 1/16′′ of an inch may need to be filled up. It’s crucial to start with a grease-free, smooth level surface, so try one or two tiles first to ensure they adhere & lay flat. Preparing the surface, just like any other painting activity, is critical to your success!
IMPORTANT BEFORE APPLYING: Tic Tac is the brand of peel and stick tile I used, and they recommend that both the wall and the tile be at 70 degrees Fahrenheit before installation.
INSTRUCTIONS
- To ensure that the tile adhesive sticks, lightly sand the wall, degrease it, and wipe it clean with a microfiber cloth.
- Create a level line for your first row of tiles with a yardstick and a level. That’s the mostimportant action to take.
- Decide where the first tile will go. As you can trace the grout lines, gently cut out parts with a straight edge or utility knife or scissors if needed.
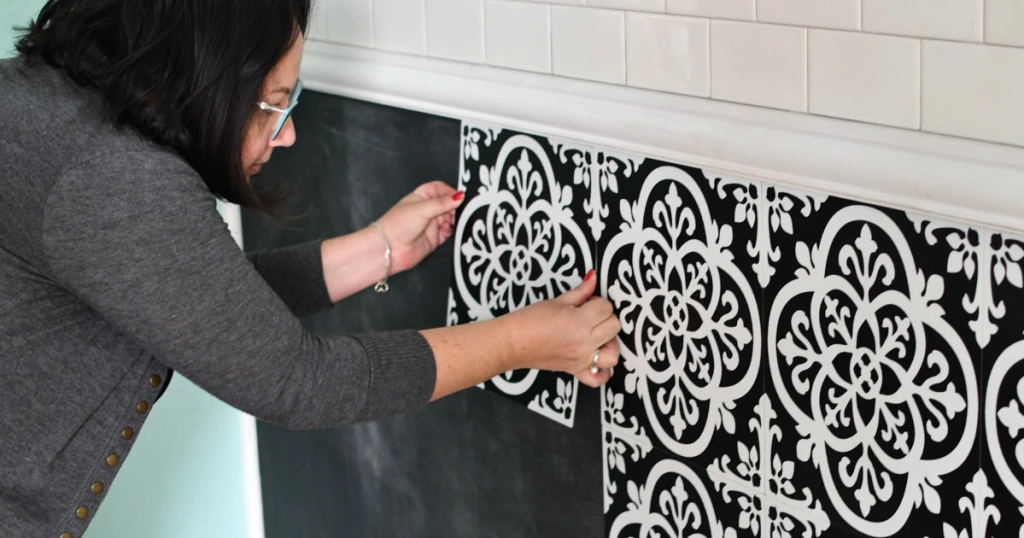
- Remove only the top fraction of an inch of the peel & stick the tile’s adhesive backing. To begin, place it along a level line and make sure it is straight both vertically and horizontally. Peel back the glue and smooth the tile to the wall.
- Move across down the length of the wall. The tile should be laid down in the same manner as the grout lines.
- Before cutting, be sure to verify and match any grout or tile pattern.
- Remove the plate or cover when operating around light switches. To work around the area, measure and cut tile.
- As needed, you may need to trim tiny pieces of tile to fit.
- Start with the door jams and corners and work your way to the corners, finishing with a straight edge. Because walls aren’t ideal, the tile may appear “wavy.”
- Clean up and have fun!
