
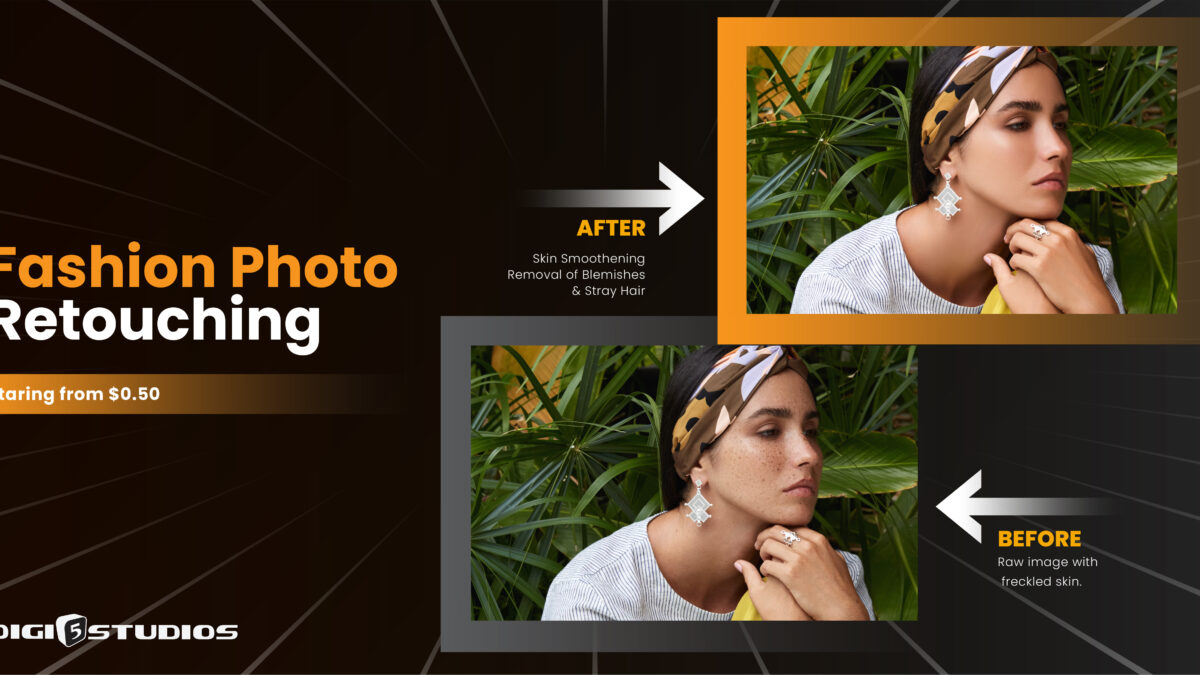
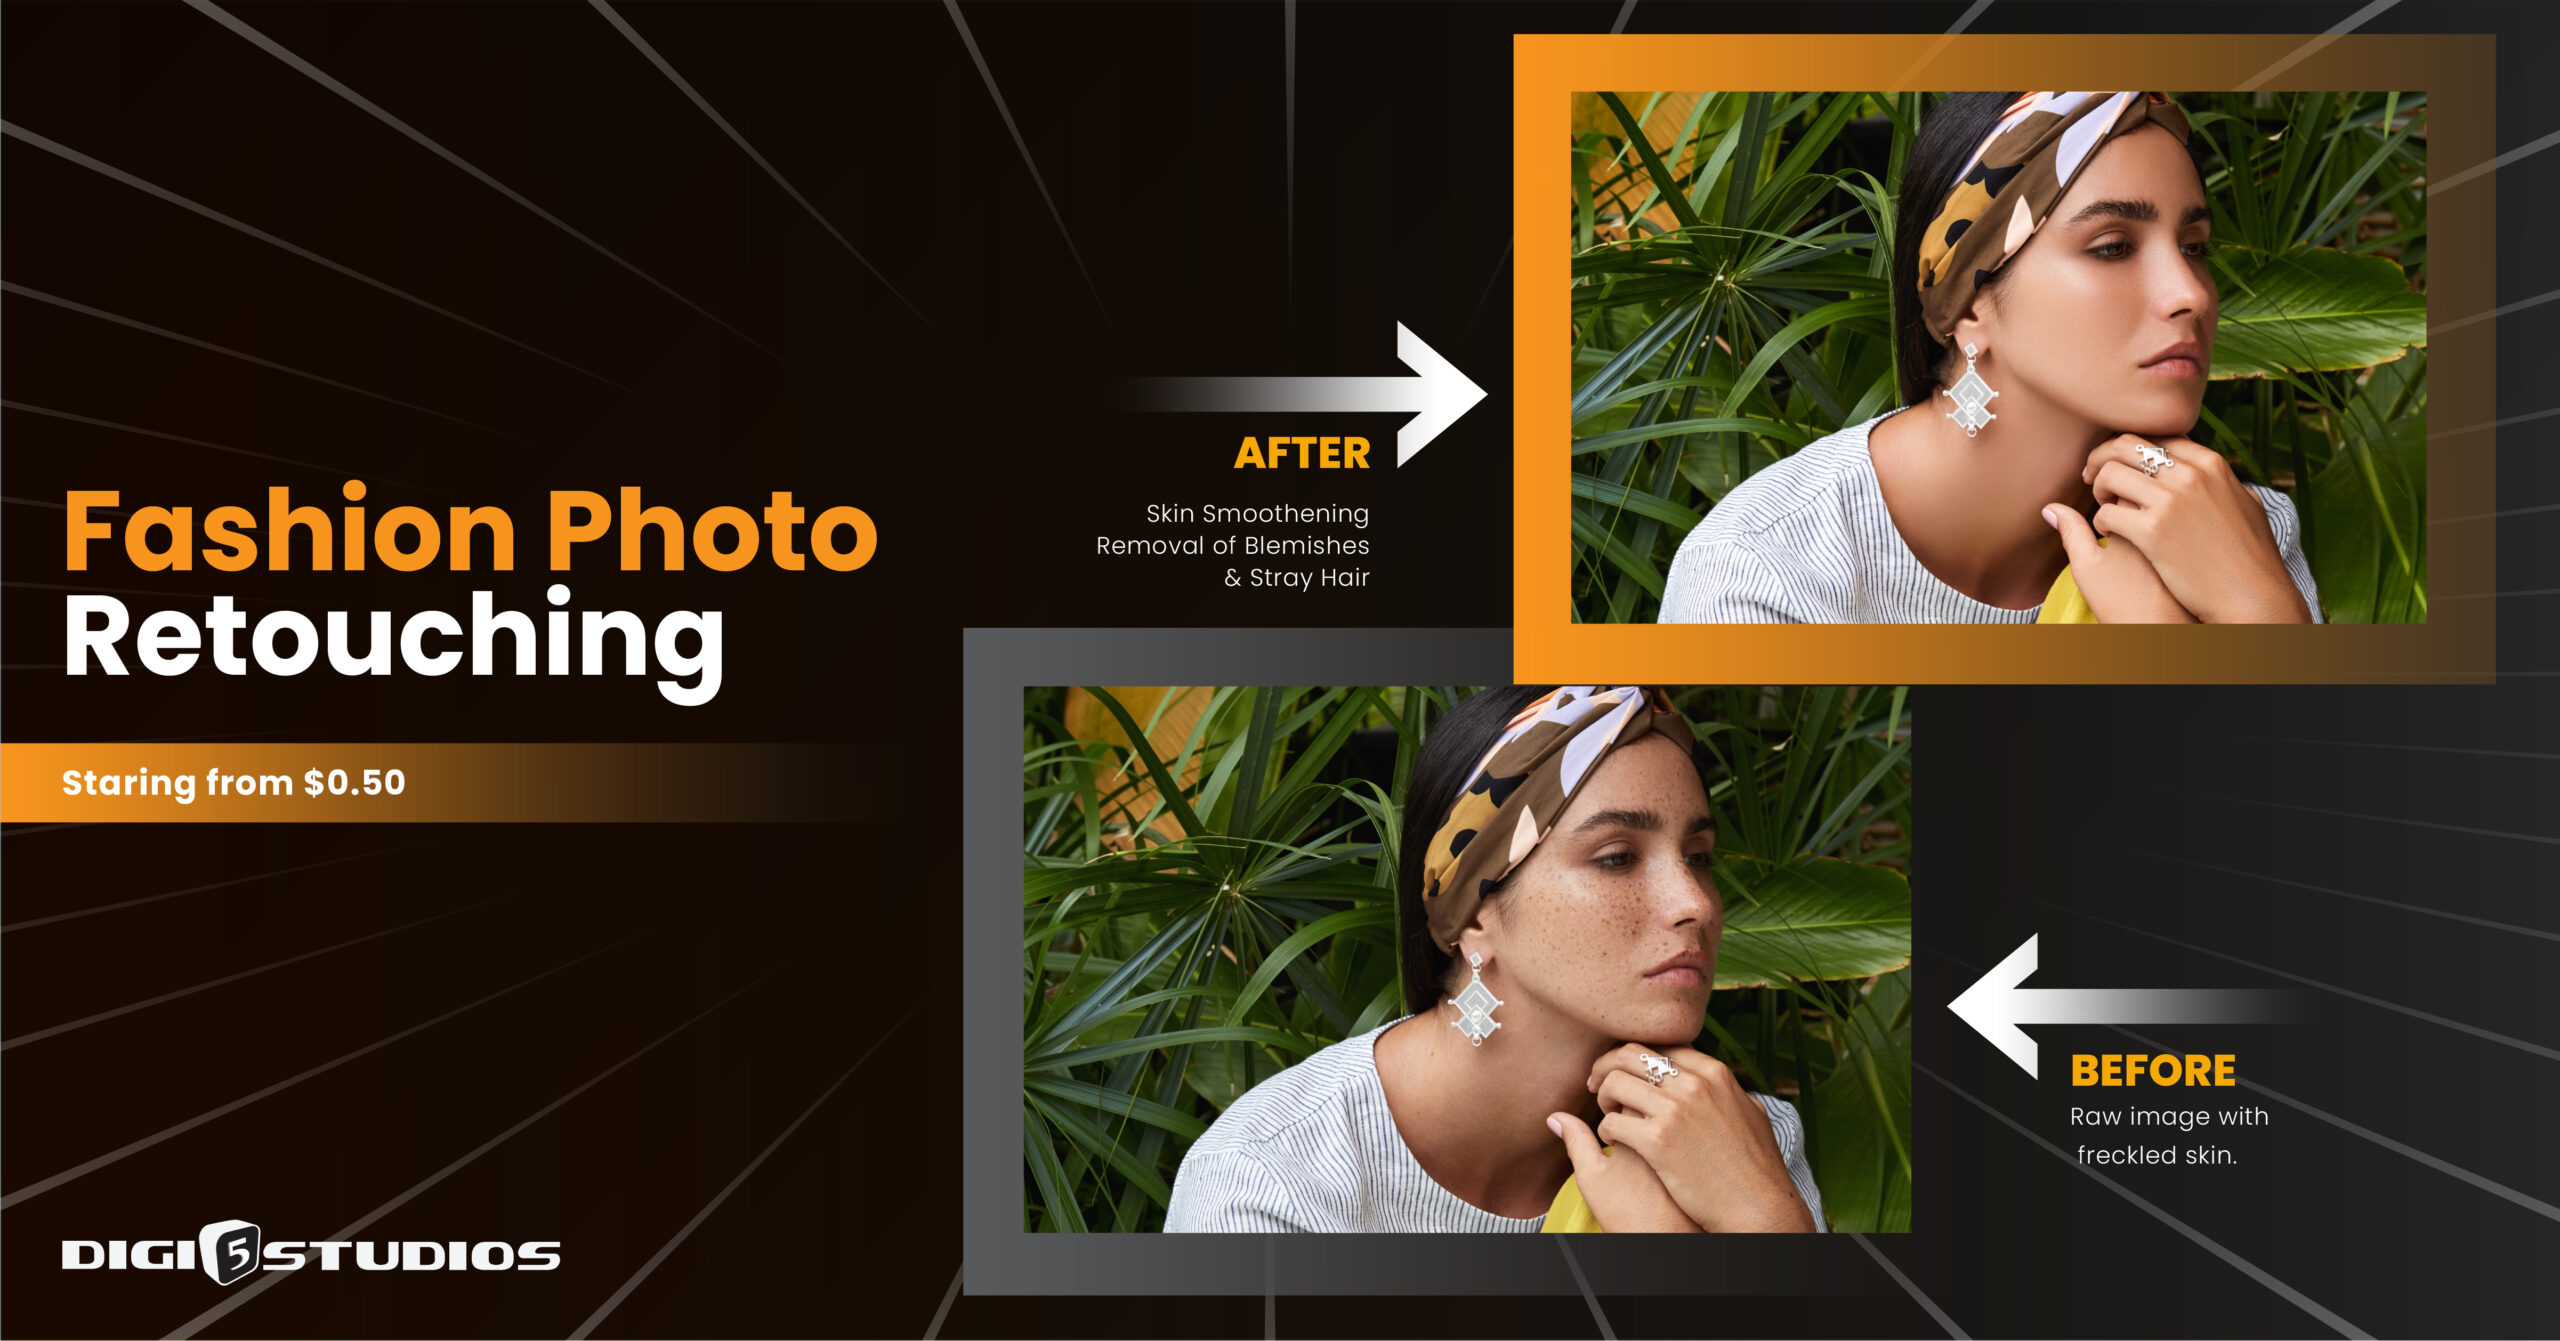
Photo retouching is a great way to enhance the natural beauty of your photos, but it’s important to know how to do it right. If you overdo it, you can end up with an unnatural-looking photo that looks fake and isn’t attractive.
That’s why we’ve put together this blog post to give you 5 tips for achieving a natural look with photo retouching. Keep reading to find out how you can make your photos look amazing without overdoing it!
1) Use Frequency Separation
Frequency Separation is a powerful tool that allows you to retouch images without affecting their natural look. It splits the image into two layers: the high frequency (details) and the low frequency (texture). This way, you can make adjustments to one layer without affecting the other.
To use it, first duplicate your image and set one layer as “high frequency” and the other as “low frequency”. Then use the blur tool on the low-frequency layer and adjust accordingly. Finally, use a layer mask to blend the two layers together. This technique allows you to adjust colors and tones without affecting the details of the image.
2) Use a Layer Mask
Layer masks are a great tool for photo retouching because they let you make adjustments to specific parts of an image without affecting the rest. With layer masks, you can hide or reveal parts of a layer and control how the changes you make to an image will appear.
Altogether, using photo retouching services you can achieve contrast eloquence while keeping the image as natural as desired.
3) Use a Soft Light Layer
Soft Light layers are one of the best ways to add a subtle, natural look to a photo. To use this tool, create a new layer and select ‘Soft Light’ from the Blending Mode options. Using a brush, gently paint over areas of the image that you want to lighten or darken.
This layer can also be used to add color contrast by using a black brush to darken and a white brush to lighten.
4) Use the Dodge and Burn Tools
The Dodge and Burn tools are powerful editing tools used to lighten or darken specific areas of an image. To use the Dodge tool, select the area you want to lighten and then move your mouse over the image. To use the Burn tool, select the area you want to darken and then move your mouse over the image.
Make sure to use these tools with a very low opacity to create a natural look. Try different brush sizes for varying effects.
5) Use a Local Adjustment Brush
A local adjustment brush can be used to make specific changes to an image. This brush can be used to make subtle enhancements and color corrections, such as brightening areas or adding more contrast.
When using this brush, make sure to adjust the brush size, flow, and opacity in order to achieve the desired effect. This tool allows for precision and can be used to make adjustments that look natural.
Wrapping Up
Photo retouching is a powerful tool to create beautiful images. When used correctly, it can bring out the best in any photograph. However, if not done carefully, photo retouching can produce an unnatural look.
The tips outlined in this blog post will help you achieve a natural look with photo retouching. Moreover, you can leverage Photo Retouching Services for Professionals and businesses to get attractive & eqloquet images for different purposes.
Reference Here: 5 Tips To Keep Images Natural-looking With Photo Retouching
