
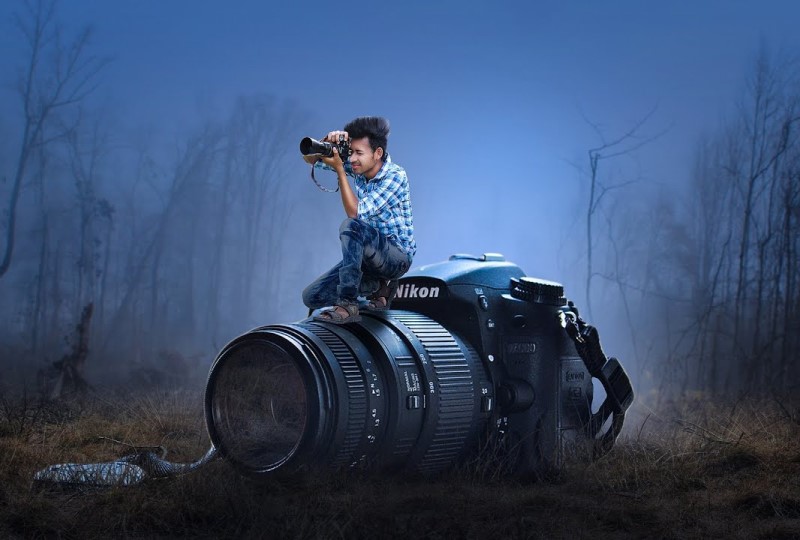
Whether you’re a professional photographer or a casual photo taker, chances are you’ll need to edit your images at some point. And while there are a number of great image editing software programs out there, they can be pricey. So, if you’re looking for a free option, you might want to consider using a web-based image editor.
There are a number of advantages to using a web-based image editor. First, they’re usually free. And second, you can access them from any computer with an internet connection.
So, if you’re in the market for a free image editor, here are a few things to keep in mind.
- Choose an editor that’s easy to use.
There are a lot of image editors out there and they all have different features. So, before you choose one, take a look at a few and see which ones seem the easiest to use. A good image editor should be intuitive and have a user-friendly interface.
- Make sure the editor has the features you need.
Before you settle on an image editor, make sure it has all the features you need. For example, if you plan on doing a lot of image manipulation, you’ll want an editor that has a wide variety of tools. On the other hand, if you just need to crop and resize images, a simpler editor will suffice.
- Consider the quality of the edited images.
When you’re choosing an image editor, it’s important to consider the quality of the edited images. Some image editors produce lower quality images than others. So, if you’re looking for a high-quality image editor, be sure to check the quality of the edited images before you make your final decision.
- Check the editor’s compatibility with your operating system.
Before you choose an image editor, be sure to check its compatibility with your operating system. Some image editors only work with certain operating systems.

Getting Started with Image Editors
Image editors are extremely powerful tools that can be used to create or enhance digital images. However, for many users, these programs can be quite daunting. In this article, we will offer some tips on how to get started with image editors.
One of the most important things to keep in mind when using image editors is that these programs are designed for professionals. As such, they can be quite complex and may require some time to learn. However, there are some basic tips that can help make the learning process a bit easier.
The first tip is to start with a basic editor. There are many different image editors on the market, and each one has its own set of features and tools. Trying to learn all of the features of a complex program can be overwhelming. It is often better to start with a basic editor and then move on to a more complex program once you have a better understanding of the basics.
Another important tip is to take advantage of online resources. There are many websites that offer tutorials and other resources that can be extremely helpful when learning how to use image editors. Additionally, there are often forums where users can ask questions and get help from other users.
Finally, it is important to experiment. Image editors are extremely powerful tools, and there is no better way to learn how to use them than to try different features and see what results you can achieve. With a little practice, you will be surprised at what you can create.
Tips for Using Image Editors
Whether you’re a professional photographer or a casual snapshot taker, chances are you’ll need to edit your photos at some point. Editing can range from simple tasks like cropping and resizing to more complex ones like removing objects or changing the photo’s background.
There are dozens of image editors out there, but which one is the best for you? It really depends on your needs. For basic editing, something like Microsoft Paint or even the built-in editor in Windows 10 will do the trick. But if you want more advanced features, you’ll need to look elsewhere.
- Choose the Right Editor
As we mentioned, there are dozens of image editors out there. Some are free, while others cost money. Some are simple and easy to use, while others are complex and require a bit of learning to master.
The key is to choose the right editor for your needs. If you’re a casual user who just wants to crop and resize photos, something like Paint will do the trick. But if you want to do more advanced editing, you’ll need a more powerful editor like Adobe Photoshop or GIMP.
- Learn the Basics
Before you start using an image editor, it’s important to learn the basics. This includes things like how to crop, resize, and rotate images. You should also learn how to use the basic tools like the paintbrush, eraser, and airbrush.
If you’re not sure where to start, there are plenty of tutorials online that can teach you the basics. Once you have a good understanding of the basics, you can start exploring the more advanced features of your image editor.
- Experiment and Have Fun
One of the best things about image editors is that they give you the freedom to experiment. So don’t be afraid to try new things and see what works best for you.
If you follow these tips, you’ll be well on your way to becoming a master of image editing.
