
Soap boxes are a simple but highly decorative way to liven up any room. They come in all shapes and sizes and can be made out of any material you like. In this blog post, we will show you how to make soap boxes from scratch—no glue or Mod Podge required! All you need is a little bit of woodworking skill, some crafting know-how, and some basic supplies. By the end of this tutorial, you’ll have a beautiful soap box to adorn your bathroom or kitchen.
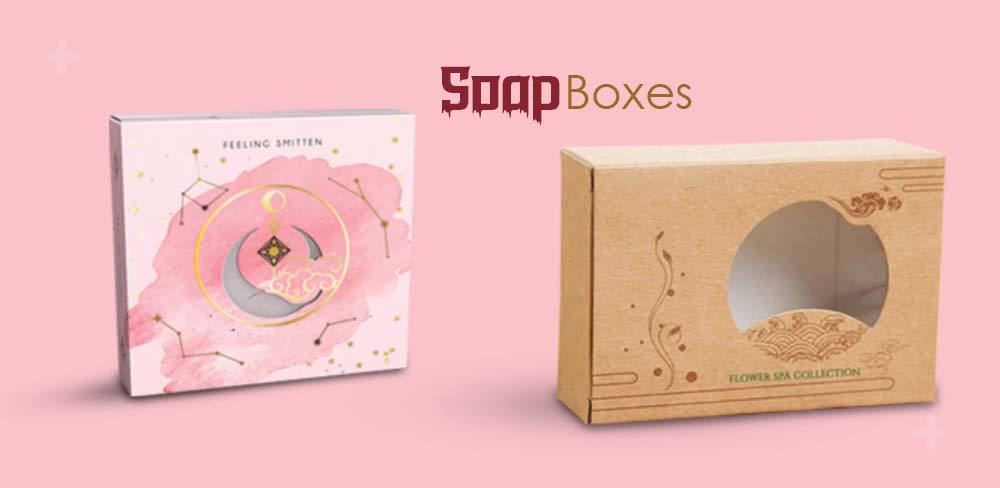
Why MyBoxPackaging.com?
MyBoxPackaging.com is one of the top suppliers of custom boxes in the USA. You should choose MyBoxPackaging for soapboxes because it provides you with uncountable customization options. Our turnaround time is the least in the market. Furthermore, a dedicated team of customer support representatives is available 24/7 to listen to and solve your concerns. We are also offering free design services. Last but not least, we use cutting-edge technologies for printing soap boxes.
What You’ll Need?
If you’re looking to spruce up your home or office with some DIY soap boxes, here’s what you need:
- A box of any size that can hold your soap (you can make smaller ones if needed)
- Paint or a similar craft material
- Ruler or a straight edge
- A Circular saw or a jigsaw
- Sandpaper (fine and medium)
- Stamps or paper cutter
Making Soap Boxes: A Guide
Making soap boxes is an enjoyable and simple craft project that you can use to beautify your house or place of business. Select the method for making soap boxes that you are most comfortable with from the numerous available options.
Soap boxes can be made out of a variety of materials. Metal, plastic, or wood are all acceptable. Traditional soapboxes are made of wood, although they can be expensive and difficult to locate. Plastic is less expensive and more readily available, but it might not look as attractive as wood. Due to its strength and attractive appearance, metal is the most preferred material.
Start by cutting a piece of wood that is roughly 18 inches square into a wooden soap box. Once it is done, cut two pieces of wood that are each 8 by 8 inches. The two 8-inch sections should be glued together along one side to create a rectangle frame. Let the frame dry after painting or staining it in whatever color you like, including white.
Start by cutting a piece of plastic that is roughly 18 inches square into a soap box. Then, cut two 8 by 8-inch pieces of plastic from the material. The two 8-inch sections should be glued together along one side to create a rectangle frame. Cut a hole in one of the rectangle’s corners, then glue it.
Directions for Making Soap Boxes
If you are looking for a creative way to display your soaps, soap boxes are a great option! Here are simple directions on how to make soap boxes:
- Gather your materials: Clear acrylic or glass jar or container, sharp knife or scissors, paper towel or rag, soap cubes (or other appropriate ingredients), glue (optional)
- Cut the paper towel or rag to fit the bottom of your container. Glue it in place if desired.
- Place the soap cubes into the jar or container.
- Pour enough glue onto the paper towel or rag to cover the top of the soap cubes and attach it to the jar lid with a dot of adhesive. If desired, cut small holes in the top of the lid so that light can shine through and show off your soap!
How to Use Soap Boxes?
Soap boxes are a great way to show your personality and add a little bit of flair to your home or office. Here are four tips for using soap boxes in your space:
- Choose a style that suits you. There are traditional soap boxes with rigid, square edges or more flexible designs that can be folded up for easy storage. You can also go for more modern designs with sleek curves and soft colors.
- Decide on the message you want to communicate. Are you looking to tout your environmental credentials? Consider using a soap box designed to promote sustainability. Want to let everyone know how much you love your dog? Go for a kitty-inspired design!
- Pick the right material. PVC or metal soap boxes are typically the most affordable, but they may not be the best choice if you plan on displaying your box prominently in a particular area of the house or office. Wood is a natural option and will look elegant regardless of where it’s placed in the room, but it may not withstand constant use from cleaning supplies. Glass is another popular option because it’s transparent and can be customized to display any message or image you choose (you could even put photos of your pets inside!).
- Add some finishing touches. Whether you simply want to paint the box black and hang it on the wall or add a ribbon around its circumference to make it easier to grab, there are plenty of customization options available when it comes to soap boxes
Tips for Making Soap Box
Soap making can be a great way to recycle old bar soap and other unused items. You can also make your soap from scratch or use pre-made soap bases. This guide will teach you how to make soap boxes for your home or office, using different materials and techniques.
To start, you’ll need some empty box containers that will fit the finished product. You can purchase these online or at a craft store. You’ll also need hot water, dish detergent, soap base, glycerin (if desired), and a Borax mixture (optional).
The first step is to prepare the soap base. Add the glycerin if desired and stir until well combined. Pour the soap into the containers and let them cool slightly before filling them with hot water. Place the soaped boxes in a warm place to allow them to be set up properly.
Once they have hardened, remove them from the heat and fill any cracks and crevices with Borax. Label each box with its contents and enjoy your homemade soap!
Epilogue
Making soap boxes is a fun way to decorate your home or office, and they are also great for using up leftover soap. Here are three simple steps to making your own soapboxes:
- Pour some glycerin into a small saucepan over medium heat. Once the glycerin has melted, add your soap flakes and stir until fully combined. (If you want a more fragrant soap, you can add essential oils at this point.)
- Pour the mixture into an oven-safe dish or mold and let it cool completely before unmolding. (If you have leftover soap, you can store it in the dish or mold for future use.)
- To use the soap box, simply fill it with soapy water and give it a good scrubbing!
Read More: atoallinks.com
