
In the world of crafting and paper artistry, the right tools can make all the difference. When it comes to cutting paper with precision, a guillotine paper trimmer is an indispensable tool. Whether you’re a seasoned crafter, a scrapbooking enthusiast, or a professional artist, learning how to properly use a guillotine paper trimmer can elevate the quality of your work. In this guide, we’ll walk you through the steps to ensure precise, clean cuts every time, with a focus on the popular Tonic Studios Paper Trimmer and the design expertise of Tim Holtz.
1. Choose the Right Guillotine Paper Trimmer
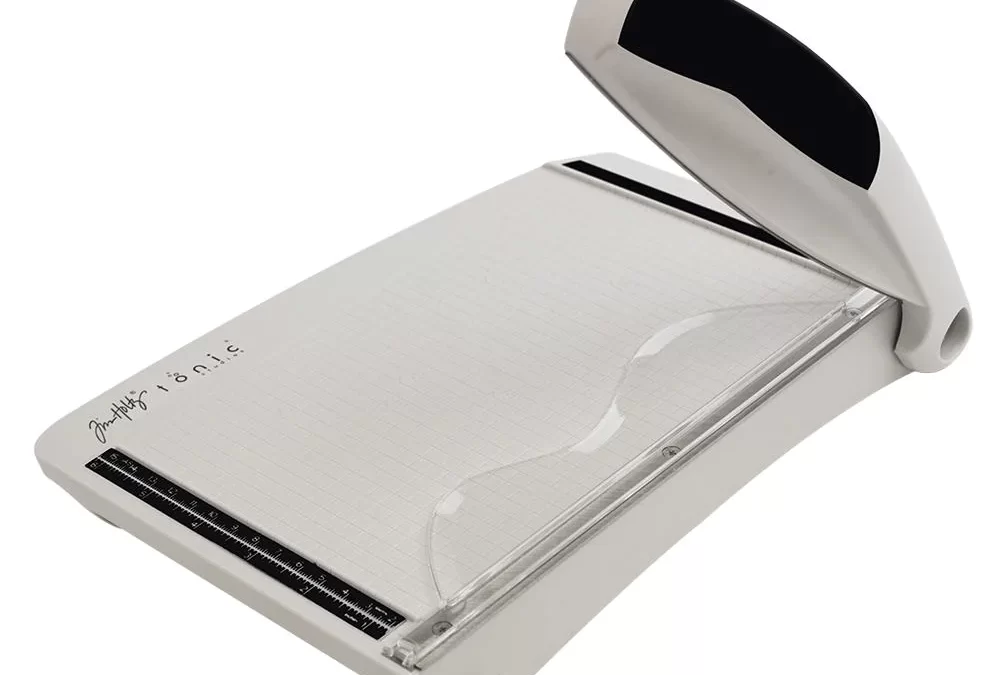
Before diving into the process of using a guillotine paper trimmer effectively, it’s crucial to select the right tool for your needs. Tonic Studios offers a range of high-quality paper trimmers known for their durability and precision. Tim Holtz, a well-respected name in the crafting world, has collaborated with Tonic Studios to create some exceptional trimmers. Depending on your project’s size and complexity, you can opt for a compact trimmer like the Tonic Studios Tim Holtz Mini Snips or a larger one like the Tonic Studios Tim Holtz 8.5-inch Guillotine Paper Trimmer.
2. Safety First
Before you start using your guillotine paper trimmer, it’s essential to prioritize safety. Guillotine trimmers have sharp blades that can cause injury if mishandled. Ensure you have a clear and clutter-free workspace. Keep the trimmer away from children and pets. Always use the safety features provided by the manufacturer, such as a blade guard.
3. Prepare Your Paper
To achieve precise cuts, you’ll want to ensure your paper is properly prepared. Place your paper on a flat, clean surface and align it with the trimmer’s cutting grid or ruler. Use a pencil or a removable adhesive to mark your desired cutting line. This step is especially important for achieving straight and accurate cuts.
4. Position the Paper
Place your paper inside the guillotine paper trimmer, aligning it with the marked cutting line. Make sure it is snug against the backstop or registration edge. Double-check that the paper is completely flat and not wrinkled or folded to ensure uniform cuts.
5. Engage the Guillotine Blade
Now, it’s time to engage the guillotine blade. Some trimmers, like the Tonic Studios Tim Holtz 8.5-inch Guillotine Paper Trimmer, have a comfortable handle that allows for a smooth and controlled cutting motion. Apply gentle and even pressure on the blade to cut through the paper. Always follow the manufacturer’s guidelines for blade usage, maintenance, and replacement to ensure consistent results.
6. Clean Cuts Every Time
The precision of guillotine paper trimmers, such as those from Tonic Studios, ensures clean and accurate cuts. The sharp blade cleanly slices through the paper, leaving smooth edges without fraying. This is particularly useful for tasks like cardmaking, where precision is paramount.
7. Additional Tips and Tricks
- To avoid jagged edges, consider replacing the blade regularly, especially if you notice it starting to dull.
- For intricate designs, use a ruler or a straight edge as a guide to ensure perfectly straight cuts.
- Experiment with different paper types and thicknesses to understand how your trimmer performs under various conditions.
Conclusion
Mastering the art of using a guillotine paper trimmer, particularly one from Tonic Studios with the expertise of Tim Holtz, can take your crafting and paper artistry to new heights. With the right tool, proper safety precautions, and attention to detail, you’ll achieve precise, clean cuts every time. Whether you’re creating scrapbook layouts, greeting cards, or intricate paper designs, a guillotine paper trimmer is a reliable companion that will make your crafting journey smoother and more enjoyable. So, go ahead and unlock your creative potential with this essential tool in your arsenal.
