

Scrapbooking is a delightful pastime, allowing you to creatively capture your memories while also indulging in a therapeutic hobby. More than just a photo album, a scrapbook is an artistic interpretation of your experiences.
Whether you’re preserving family history, commemorating an event, or simply expressing your creativity, this guide will show you how you can make a scrapbook that you will be proud of, even if you’ve never attempted one before.
Step #1 – Select the Perfect Notebook
Selecting the right notebook is the first crucial step in your scrapbooking journey. The size, style, and type of paper can significantly impact the outcome. You will also need to consider the scope of your project before choosing.
If you are planning a scrapbook to document a short vacation, a small or medium-sized notebook may suffice. However, for larger projects like a year-long adventure, a larger, sturdier notebook might be needed. If you truly want something special, custom printed notebooks are also worth considering.
The type of paper plays a crucial role too. Cardstock or acid-free paper is recommended as it is durable and won’t yellow over time. Additionally, the style of the notebook can enhance your overall theme. There are plenty of options, from spiral-bound notebooks to ring-bound albums, so pick one that aligns with your aesthetic preference.
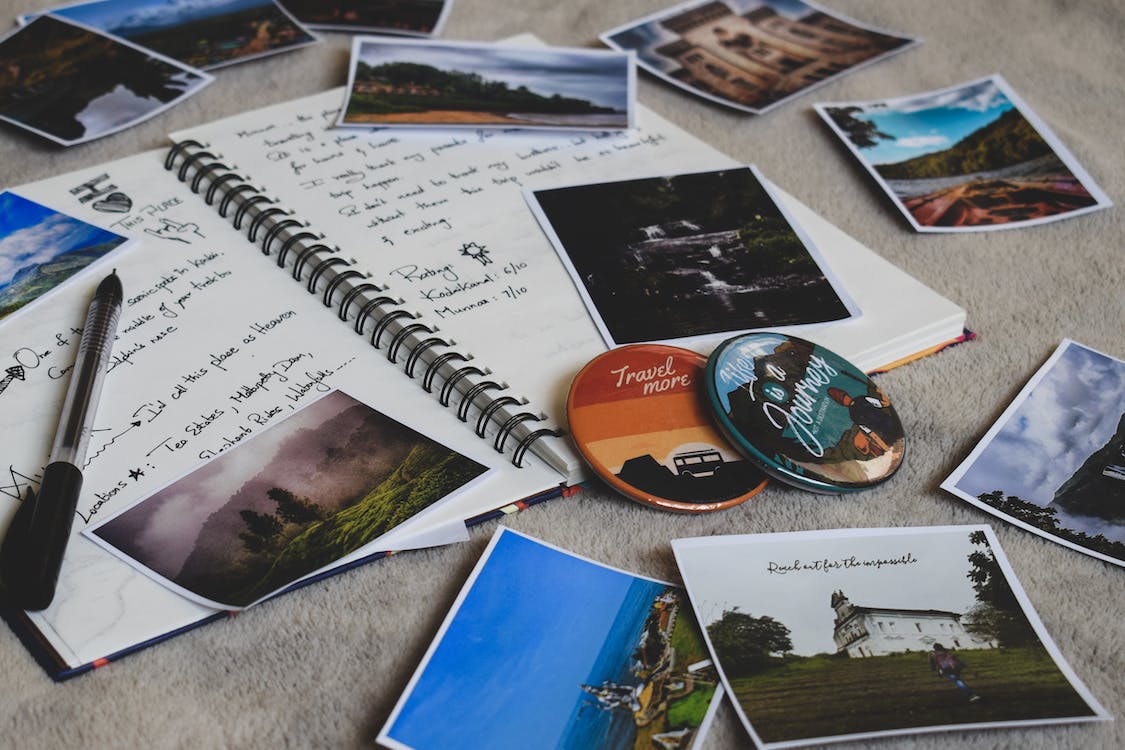
Step #2 – Choose Your Cherished Memories
What do you want your scrapbook to reflect? It could be a specific event, a collection of moments from a particular period, or even a general theme (like “adventures” or “family gatherings”). Identify the memories you want to cherish and start gathering photos, ticket stubs, postcards, or any other memorabilia associated with these moments.
Step #3 – Collect and Organize Materials
Gather all the materials you will need such as photographs, embellishments, pens, adhesives, scissors, and stickers. Organization is key at this stage, as once something goes on the scrapbook, it can be hard to remove it or change its position without damaging the page.
Here it can be helpful to sort your materials according to themes or chronology, depending on your current goal. Think about how these elements will come together on each page.
Step #4 – Begin Scrapbooking Your Memories
Once you have all your materials ready, you can finally start bringing your scrapbook to life. There are no strict rules for this process — your scrapbook is a reflection of you. However, laying out your design before gluing things down can save you from irreversible mistakes. Experiment with placements, add personal touches, like notes or doodles, and most importantly, have fun!
