
A leaking toilet tank can be an annoying and potentially costly issue that many homeowners face. The constant drip not only wastes water but can also lead to water damage and increased utility bills. Fortunately, resolving a toilet tank leak is not as complicated as it may seem. In this comprehensive guide, we will explore the common causes of toilet tank leaks, step-by-step methods to diagnose the problem, and effective solutions to stop the leakage. By the end of this article, you’ll be equipped with the knowledge to tackle the drip dilemma and ensure a leak-free bathroom.
Understanding the Culprits – Common Causes of Toilet Tank Leaks
To effectively stop a toilet tank from leaking, it’s crucial to understand the potential culprits behind the issue. There are several common causes of toilet tank leaks, and identifying them is the first step towards a successful repair.
- Faulty Flapper Valve: One of the most common reasons for a leaking toilet tank is a faulty flapper valve. The flapper is a rubber seal that controls the water flow from the tank to the bowl. Over time, the flapper can deteriorate or become misaligned, allowing water to leak into the bowl.
- Damaged Float Ball: The float ball, which is responsible for regulating the water level in the tank, can also be a source of leaks. If the float ball is damaged or improperly adjusted, it may not effectively shut off the water supply, leading to continuous leakage.
- Loose Tank Bolts: The connection between the tank and bowl is secured by bolts. If these bolts become loose or corroded, water may seep out from the base of the tank. Regular wear and tear, as well as temperature changes, can contribute to this issue.
- Cracked Tank: A less common but serious issue is a cracked tank. A crack in the toilet tank can result from physical damage or the natural aging of the porcelain. This type of leak can be harder to detect but is essential to address promptly to avoid water damage.
Diagnosing the Problem – Step-by-Step Guide
Now that we’ve identified the potential causes, let’s move on to the step-by-step process of diagnosing and pinpointing the issue in your leaking toilet tank.
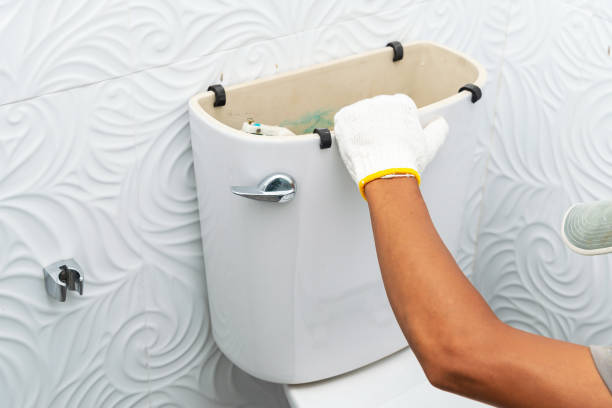
- Conduct a Visual Inspection: Start by carefully inspecting the exterior of the tank for any visible cracks, water stains, or pooling water. Pay close attention to the areas around the bolts, seams, and the base of the tank.
- Check the Flapper Valve: Lift the toilet tank lid and inspect the flapper valve. Look for signs of wear, misalignment, or damage. Flush the toilet and observe the flapper’s movement – it should seal tightly after the flush.
- Examine the Float Ball: Inspect the float ball to ensure it moves freely and is not damaged. If it’s improperly adjusted, adjust the float level according to the manufacturer’s instructions. Flush the toilet and observe the water level to see if the float ball shuts off the water supply correctly.
- Tighten or Replace Tank Bolts: Carefully tighten any loose tank bolts using a wrench. If the bolts are corroded, it may be necessary to replace them with new ones. Ensure a snug fit to prevent water from leaking around the tank base.
- Perform a Dye Test: To identify silent leaks, add a few drops of food coloring into the tank. Wait for about 15 minutes without flushing. If colored water appears in the bowl, there’s a leak that needs attention.
Effective Solutions – How to Stop the Drip
With a clear understanding of the potential causes and a diagnosis of the problem, let’s explore effective solutions to stop a toilet tank from leaking.
- Replace the Flapper Valve: If the flapper valve is worn, misaligned, or not sealing properly, replacing it is a straightforward solution. Ensure you choose a flapper that is compatible with your toilet model, and follow the manufacturer’s instructions for installation.
- Adjust or Replace the Float Ball: If the float ball is damaged or improperly adjusted, consider replacing it with a new one. Follow the manufacturer’s guidelines for proper adjustment to ensure the correct water level in the tank.
- Tighten or Replace Tank Bolts: Tightening loose tank bolts or replacing corroded ones is crucial to preventing leaks around the tank base. Use a wrench to ensure a secure and watertight connection between the tank and bowl.
- Patching a Cracked Tank: If a crack is detected in the tank, a temporary solution is to apply a waterproof epoxy or plumbing sealant over the crack. However, keep in mind that this is a temporary fix, and replacing the tank may be necessary for a long-term solution.
- Call a Professional: In cases where the issue is complex, or if you’re uncomfortable performing the repairs yourself, it’s wise to seek the assistance of a professional plumber. They have the expertise to handle more intricate problems and ensure a lasting solution.
Conclusion
