
Die-cutting is a versatile and creative technique that allows crafters to create precise and intricate shapes for a wide range of projects. With Tonic Studios’ dies, you can take your crafting to the next level and achieve professional-looking results with ease. In this step-by-step guide, we’ll walk you through the process of die-cutting with Tonic Studios’ dies, from selecting the right materials to using the die-cutting machine.
Step 1: Gather Your Materials
Before you begin die-cutting with Tonic Studios’ dies, it’s essential to gather all the necessary materials. You will need:
- Tonic Studios’ dies of your choice
- Cardstock or paper in your preferred color
- A die-cutting machine (such as the Tonic Studios’ Tangerine or other compatible models)
- Cutting plates compatible with your die-cutting machine
- Magnetic platform or metal adapter plate (if required)
- A piece of scrap paper
- Clear cutting plates (for sandwiching your materials)
Step 2: Choose Your Die and Paper
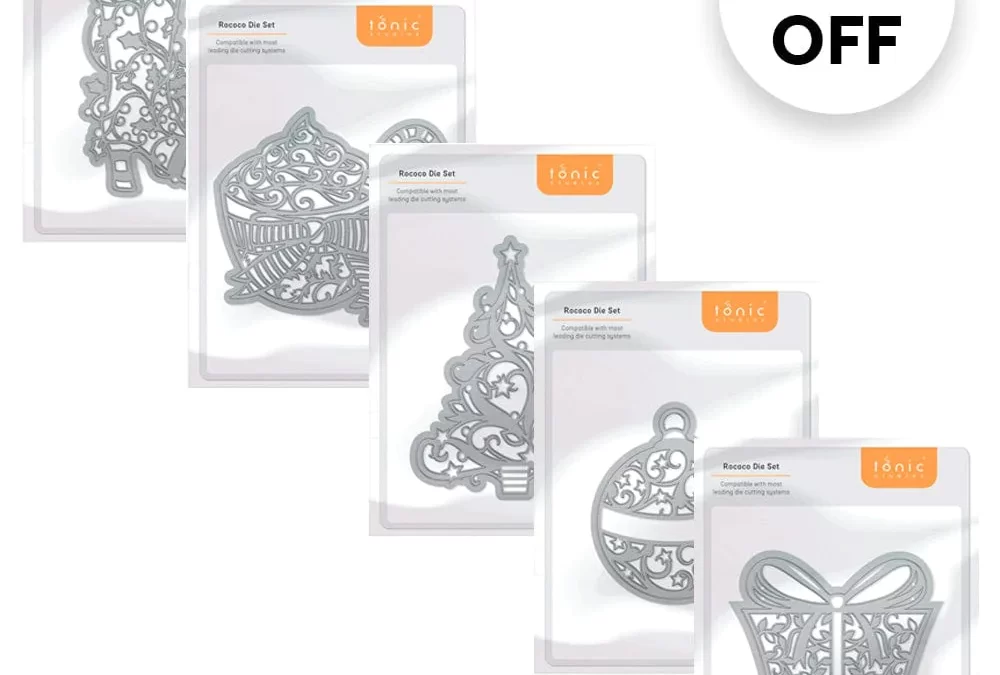
Select the Tonic Studios’ die you want to use for your project. Tonic Studios offers a wide range of dies, including intricate designs, sentiments, and geometric shapes. Choose a die that complements your project’s theme and size requirements.
Next, choose the cardstock or paper you’d like to die-cut. Tonic Studios’ dies work well with various materials, including cardstock, patterned paper, vellum, and even fabric. Ensure that your paper is of the appropriate thickness and quality for the die-cutting process.
Step 3: Prepare Your Die-Cutting Machine
Set up your die-cutting machine according to the manufacturer’s instructions. Different machines may have slight variations in their setup, so it’s crucial to follow the guidelines provided in your machine’s manual.
If you’re using an intricate die or experiencing any difficulty with your die-cutting machine, consider using a magnetic platform or metal adapter plate. These accessories can help secure your dies and materials more effectively during the cutting process.
Step 4: Create the Die-Cutting “Sandwich”
To start the die-cutting process, you’ll need to create a “sandwich” with your materials. Here’s how to do it:
- Place one clear-cutting plate on your work surface.
- Lay your chosen paper or cardstock on top of the clear-cutting plate.
- Position the selected Tonic Studios’ die on the paper, ensuring that it’s centered or aligned as desired.
- Add a piece of scrap paper on top of the die to protect it and the cutting plates.
- Place the second clear cutting plate on top of the scrap paper, creating a complete sandwich.
Step 5: Run the Sandwich Through the Die-Cutting Machine
Carefully place the die-cutting sandwich between the rollers of your die-cutting machine. Make sure that the sandwich enters the machine straight and evenly. Crank the machine’s handle to feed the sandwich through the rollers.
As the sandwich passes through the machine, the pressure will cut the paper or cardstock according to the design of the die. You’ll hear a satisfying “click” as the die cleanly cuts through the material.
Step 6: Remove and Reveal Your Die-Cut Piece
Once the sandwich has passed through the machine, carefully remove the top clear-cutting plate and the scrap paper. Lift the die away from the paper to reveal your beautifully cut design.
Step 7: Finishing Touches
Depending on your project, you may want to add additional embellishments or use the die-cut piece as-is. Tonic Studios’ dies offer incredible versatility, allowing you to create intricate elements for cards, scrapbook pages, home decor, and more.
With this step-by-step guide, you’re well on your way to creating stunning, die-cut projects using Tonic Studios’ dies. Experiment with different dies, materials, and techniques to unleash your creativity and make every project truly unique. Happy crafting!
