
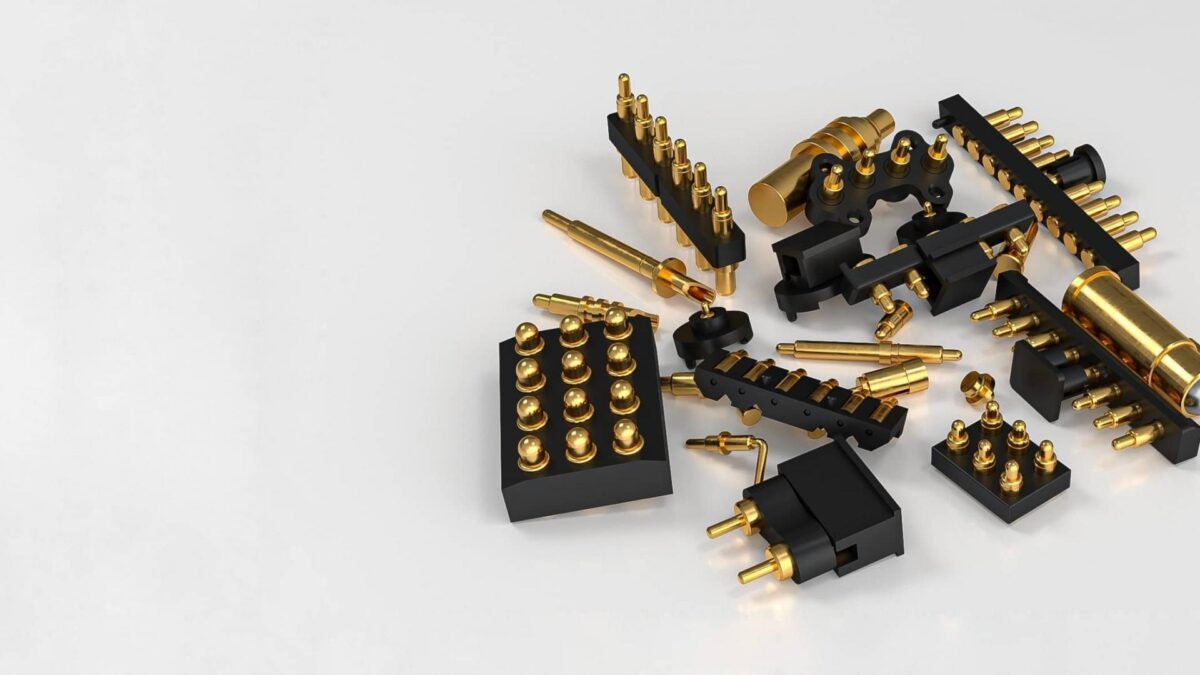
A pogo pin is an electronic connector with a spring-loaded pin that supports conductors at either end, which is also known as a spring-loaded push button. These devices are commonly used in applications such as mobile phones, laptops, and game consoles. There are various types of this connector.
What is the history of the Pogo Pin?
The pogo pin is a connector that has been around for over 60 years. Originally designed to connect two pieces of electrical wire, the Pogo Pin became popularized as a connector for connecting boards and circuit boards in electronic devices.
Originally, the Pogo Pin was made from metal and had a small protrusion on one end. The protrusion was used to make sure that the pins were inserted correctly into the connectors. Today, the Pogo Pin is mostly made from plastic and has no protrusion.
The original purpose of the Pogo Pin was to connect two pieces of electrical wiring. Today, it is most commonly used in electronics as a connector for connecting boards and circuit boards.
What makes a Pogo Pin a popular connection?
A Pogo Pin is a connector that is typically used to connect two pieces of electronic equipment. However, these connectors can also be used for other purposes, such as connecting wires together in a circuit.
Pogo pins are available in different sizes and shapes and can be made from metal, plastic, or even rubber. They are often cylindrical in shape and have a small hole on one end. The other end of the pin has several small holes that allow it to securely connect to the wires it is connected to.
One of the main uses for Pogo pins is in electronic circuits. These connectors are often used to connect different parts of an electronic device together. They can also be used to connect wires together in a circuit. spring loaded pin
Another use for Pogo pins is in connecting cables together. This is often done when the cables need to be kept separate but need to be connected somewhere near where they are going to be used.
Why are Pogo pins used in electronics?
Pogo pins are connectors that have a spring-loaded contact that makes them suitable for use in electronic equipment. They originated from the early days of computer technology, when there were few other options for connecting devices together. They are still used today in a variety of applications, such as networking and audio/video equipment.
What happens when you make contact with a Pogo Pin?
A Pogo Pin is a connector that you use to connect two wires together. These connectors come in a variety of shapes and sizes, but they all have one thing in common: they are used to make contact with each other.
When you make contact with a Pogo Pin, it creates an electrical connection between the two wires. This connection is what allows you to transfer electricity from one wire to another.
Pogo Pins come in different shapes and sizes, but the most common type is a round connector that has a small hole in the middle. You can find these connectors on cables and other electrical equipment, so they are often used to make contact with other parts of the circuit.
How to make your own Arduino controller using a Pogo pin connector
If you’re familiar with Arduino, you probably know about its serial ports. These are the pins on the Arduino that allow you to communicate with other devices, like sensors or motors.
But what about adding more functionality to your Arduino? You can do this by using connectors called Pogo pins.
Pogo pins are special connectors that connect to Arduino boards via a short cable. This means you can easily add new features to your Arduino without having to solder wires directly onto the board!
Here’s how it works: first, connect one end of the cable to an available Pogo pin on your Arduino board. Then, connect the other end of the cable to whatever device you want to connect it to.
For example, you could use a Pogo pin connector to control a motor from your computer keyboard! Just download and install a compatible programming software program, like Servo Controller for Arduino. Once installed, open up the program and select your desired channel (1-4) for controlling your motor using your keyboard. Easy as pie!
