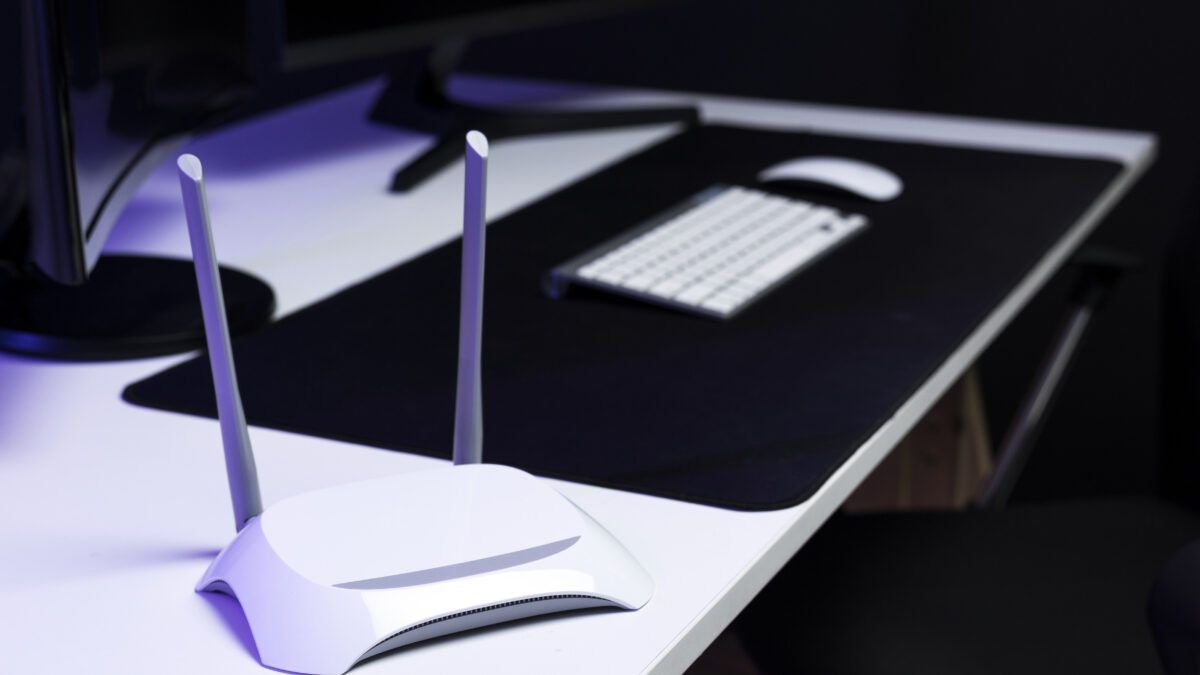
Setting up your Netgear Nighthawk router manually without the use of the mobile app can be a straightforward process. Here’s a detailed step-by-step guide on how to do this using a web browser on your computer:
What You’ll Need
- Netgear Nighthawk router
- A computer or laptop
- Ethernet cable (optional, for wired connection)
- Your router’s default network name (SSID) and password (these can be found on a label on the router itself)
Steps for Manual Setup
Step 1: Connect to the Router
- For Wired Connection: Use an Ethernet cable to connect your computer directly to the router.
- For Wireless Connection: Connect to the router’s default WiFi network using the SSID and password provided on the router’s label.
Step 2: Access the Router’s Web Interface
- Open a web browser on your connected computer.
- Enter the router’s default IP address in the address bar. This is typically
192.168.1.1or192.168.0.1. (You can check the router’s manual or underside for this information.) - Press Enter to navigate to the address.
Step 3: Log In to the Router
- When prompted, enter the default username and password for your router. This is usually
adminfor the username andpasswordfor the password, unless you have changed them previously.
Step 4: Run the Setup Wizard
- Once logged in, look for a “Setup Wizard” or “Internet Setup Wizard” feature in the router’s web interface. This is often found in the “Advanced”, “Setup”, or “Basic” tab.
- Follow the prompts provided by the setup wizard. This will typically involve configuring your internet connection type (e.g., DHCP, static IP, PPPoE, etc.) based on your ISP’s requirements.
- The wizard may also prompt you to update the default SSID and network password for your WiFi network. It is recommended to change these from their defaults to ensure your network’s security.
Step 5: Update Firmware
- After initial setup, check if there is a firmware update available for your router. This can usually be found under the “Administration”, “Maintenance”, or “Advanced” tab.
- If an update is available, follow the instructions provided to download and install the firmware. This helps ensure your router has the latest security and performance improvements.
Step 6: Configure Additional Settings
- Security Settings: Navigate to the security settings section and ensure WPA2 or WPA3 encryption is selected for the best wireless security.
- Guest Network: Consider setting up a guest network if you have visitors who need to use your WiFi. This keeps your main network secure.
- Parental Controls: If needed, you can also configure parental controls to manage or restrict Internet access during certain times.
Step 7: Save Settings and Reboot
- Ensure all settings are saved, and then reboot the router if necessary. This often happens automatically after firmware updates or major configuration changes.
Final Steps
After setting up your router, connect your devices to the newly configured network using the new SSID and password. It’s also a good practice to check the connection stability and revisit the router’s settings if any adjustments are needed.
By following these steps, you should have your Netgear Nighthawk router setup and running smoothly without needing to use the mobile app. If you encounter issues during setup, consulting the router’s user manual or contacting Netgear support can be helpful.


