
In my experience, there is no difference between the Wavlink AC1200 and AC600 login and setup processes. On this page, we will tell you the login process of the wavlink extender and one method of AC1200 and AC600 extenders to do the configuration process. This process does not require any technical expertise; you can do it by yourself in fewer minutes. So, read this article attentively.
Common Needs To Do Wavlink Extender Configuration
Before beginning the Wavlink AC1200 setup procedure just keep in mind a few things that you will require during the login and the configuration process.
- Require the host router with an active internet connection.
- Any Wi-Fi-containing gadget with access to the navigation.
- Must know the default web or an IP address.
How To Do Wavlink Extender Login Process
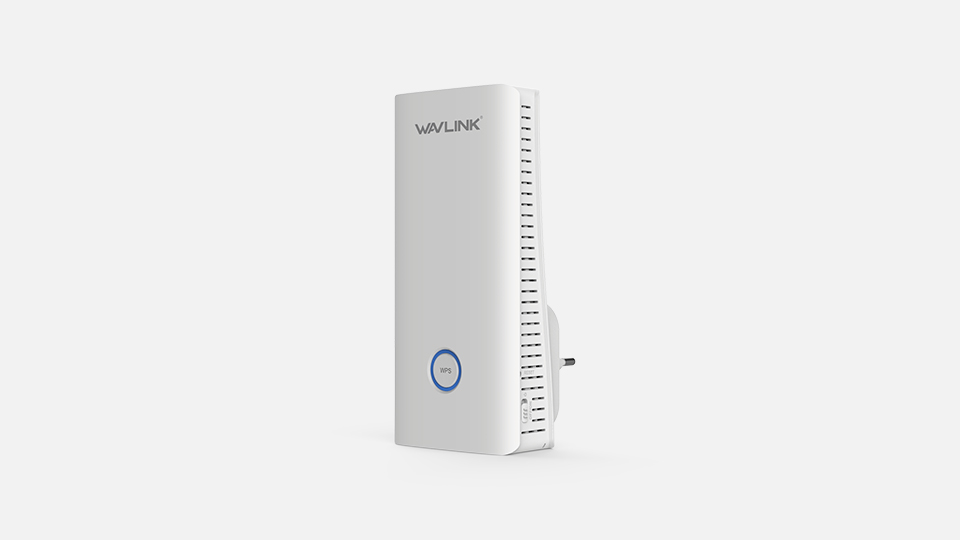
- First, place the Wavlink WiFi range extender power plug in a wall socket.
- After that, link your computer to the Wavlink extender network with the help of an ethernet cable.
- Next, launch navigation and enter the wifi.wavlink.com login in the location bar.
- Now, the login page of the Wavlink extender will appear on your display.
- In case, you don’t know the credentials then check the label or bottom of your Wavlink extender device.
- Hence, the login process of the Wavlink extender is completely done.
Note: If the web address wifi.wavlink.com login is not working properly then you can also enter an IP address instead of 192.168.10.1.
Specification Of Wavlink AC1200 Extender Model
- It supports 2.4GHz and 5GHz Wavlink WiFi range extenders.
- The 2.4GHz band provides 300Mbps speed, while the 5GHz band offers 867 Mbps speed.
- In a smaller size, it gives better performance.
- By the web UI method, you can easily do the Wavlink AC1200 setup.
- It consists of three WiFi LED signal strengths.
Specifications Of Wavlink AC600 Extender Model
- The indoor range of the Wavlink AC600 WiFi range extender is approximately 130m.
- The outdoor range of the Wavlink AC600 WiFi range extender is approximately 500m.
- It also supports dual frequency bands.
- AC600 Wavlink extender has dual-band external antennas.
- By pushing the WPS button you can easily connect the AC600 extender to the host router.
By WPS Button Configure Wavlink AC600 Extender
- Initially, settle your Wavlink AC600 extender near the main router.
- After that, press the WiFi-protected system button on your main router.
- Now, inside in two minutes press the existing router WiFi-protected system button.
- Next, wait for a short while to see the solid blue LED on both the extender and router gadget.
- As a result, it means the Wavlink AC600 setup process is perfectly done with the router.
By Web UI Do Wavlink AC600 Extender Installation
- In the wall socket place the Wavlink AC600 extender power plug.
- Now, connect your Wi-Fi-containing gadget to the Wavlink AC600 extender network with the help of an ethernet cable.
- Next, enter the web address or IP address in the URL bar.
- Further, fill in all the relevant details.
- Furthermore, tap on the new extender setup page and follow all the steps or instructions step by step.
Hence, the Wavlink AC600 setup process is completely done without facing any trouble.
Common Issues That You Face In Your Wavlink Extender
Here are a few causes that you may face while using the Wavlink WiFI repeater:
Compatibility Issues
The Wavlink Extender may also experience compatibility issues with certain devices or operating systems, which may prevent them from connecting or functioning correctly.
Firmware Problems
Outdated firmware can cause various issues, including frequent disconnections, slow internet speeds, and connectivity issues.
Reset The Wavlink Extender
- Take a look at the rear of the Wavlink WiFi range extender first.
- On the rear of the Wavlink device, you can see the reset hole button.
- At this point, push that button with a paper clip.
- Currently, all of the LEDs on the Wavlink repeater devices are off.
- This essentially proves that the extender reset worked.
After reading this, if you want to make any changes to the Wavlink device then enter wifi.wavlink.com login in the search box. If your web address does not work properly then follow the below steps:
What To Do If Web Address Is Not Working
If you’re having trouble accessing the wifi.wavlink.com login website, here are some troubleshooting steps you can try:
- Make sure your device is connected to the internet and your WiFi router is working properly.
- Try clearing your browser cache and cookies. This will help to eliminate any temporary files that may be causing the issue.
- If you’re using a particular browser to access the website, try using a different browser. A browser-specific issue can be determined by this step.
- Make sure you’re entering the correct URL. Double-check for any spelling errors.
After this process, if you are still facing the same error then try to reset your Wavlink gadget.
You should be able to successfully set up your Wavlink AC1200 & AC600 after reading this blog. In the other case, If none of the above steps work then discuss with our technical team.
